

Painted Butterfly
Being messy can help a child’s creativity grow, and what better way to do it than in a contained and safe way? Your little ones and you can do this simple project many times, experimenting with different colors and getting a different result each time. Let the mess become the art!
Supplies Needed:
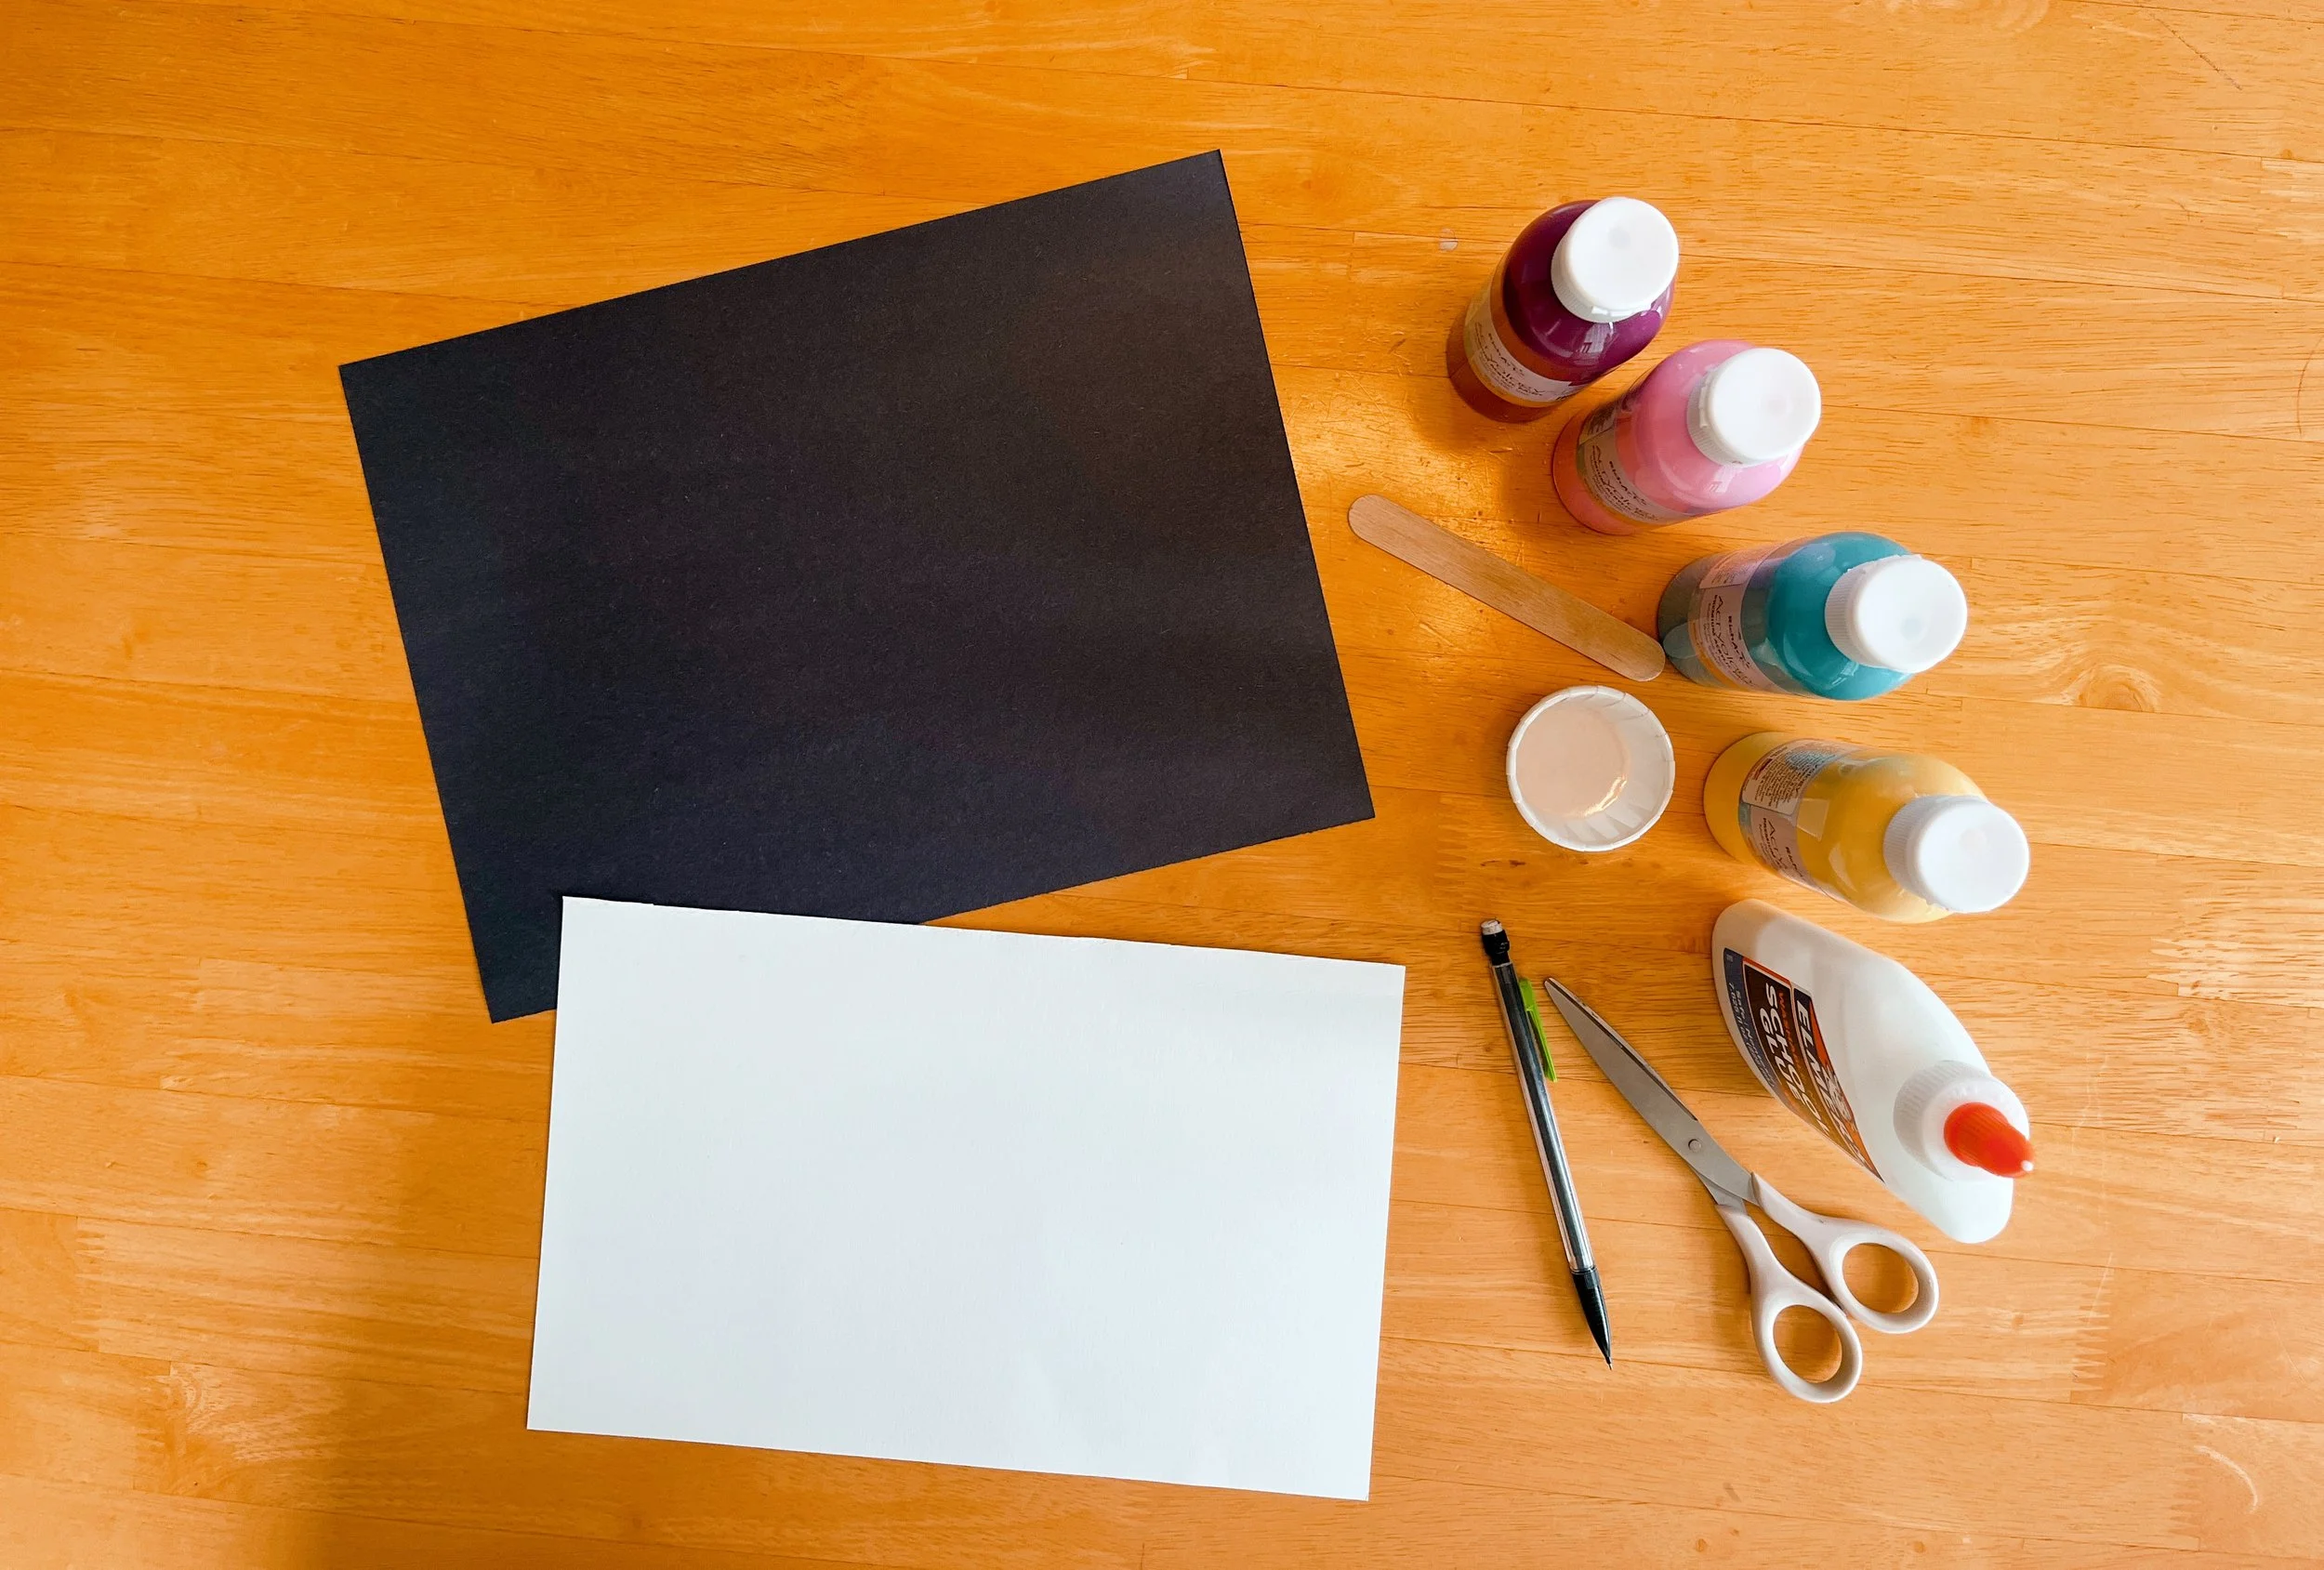
Black Construction Paper
White Poster Paper
Non-Toxic Washable Paint of Assorted Colors
Glue
Pencil
Scissors
Optional: Small Cups for Paint and Glue + Popsicle Stick
Prep for the Adults:
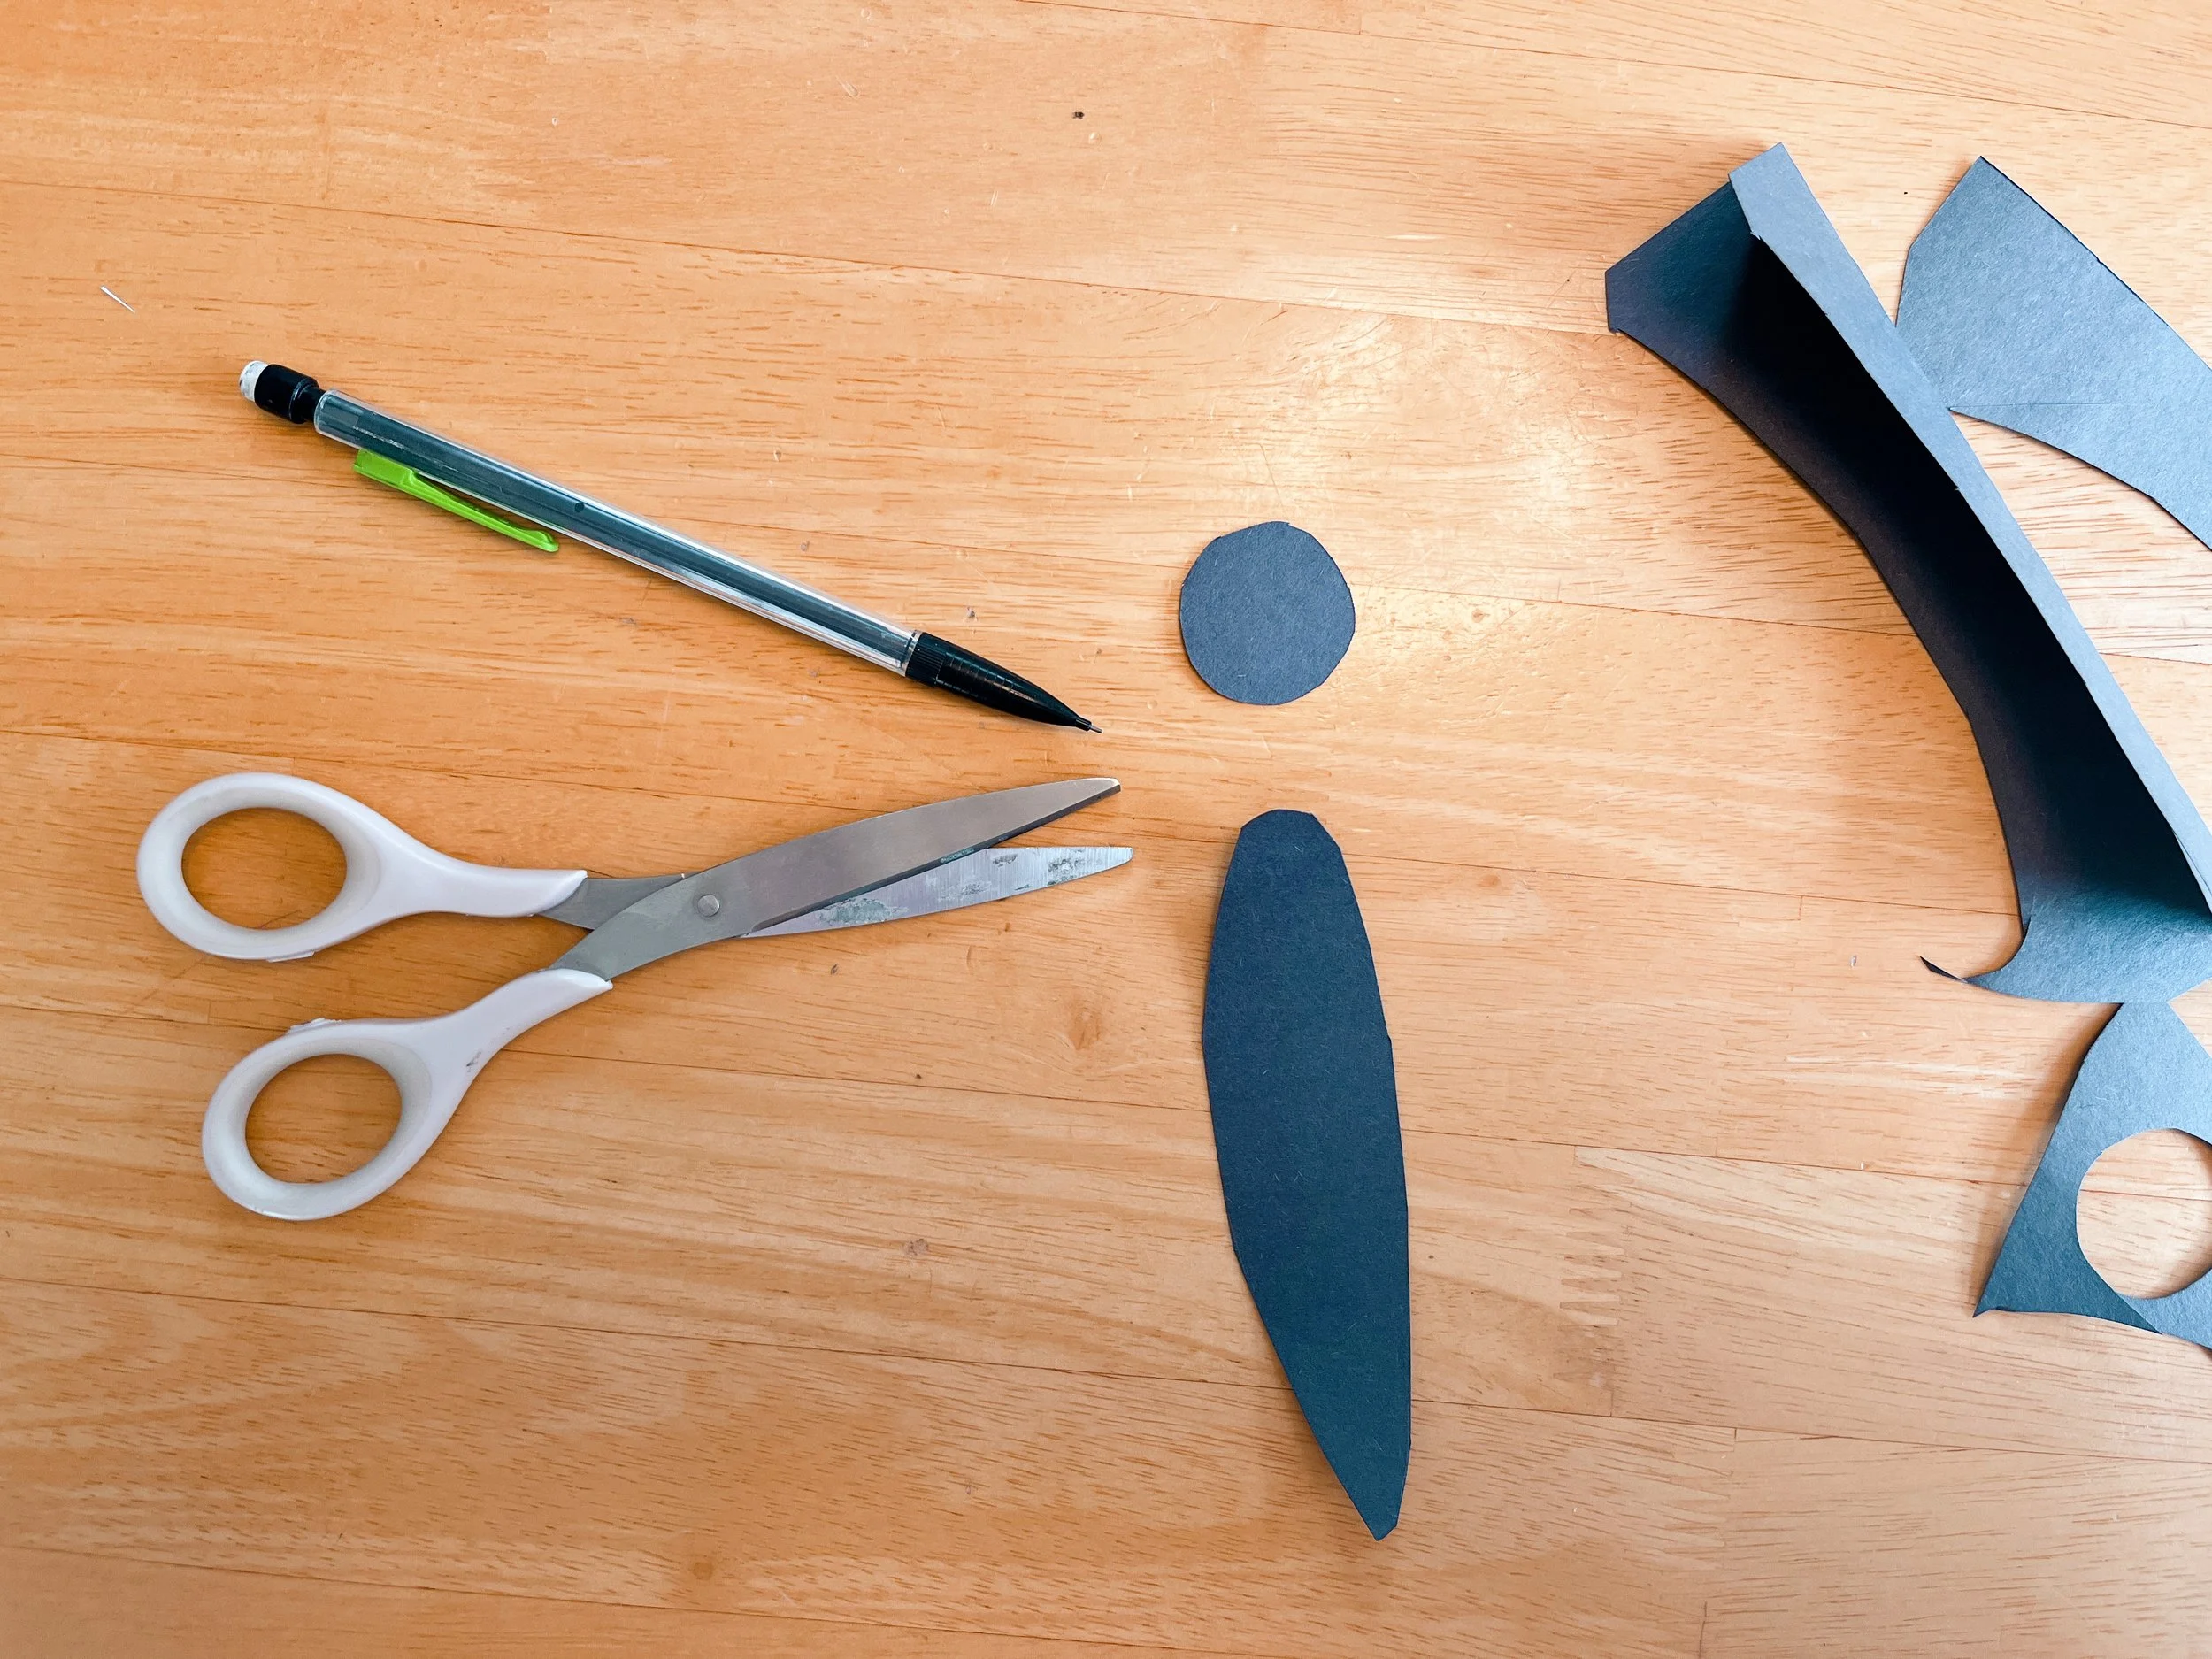
Cut out shapes for the butterfly’s body from the black construction paper.
Depending on the age of your little one, they may be able to do this step themselves!
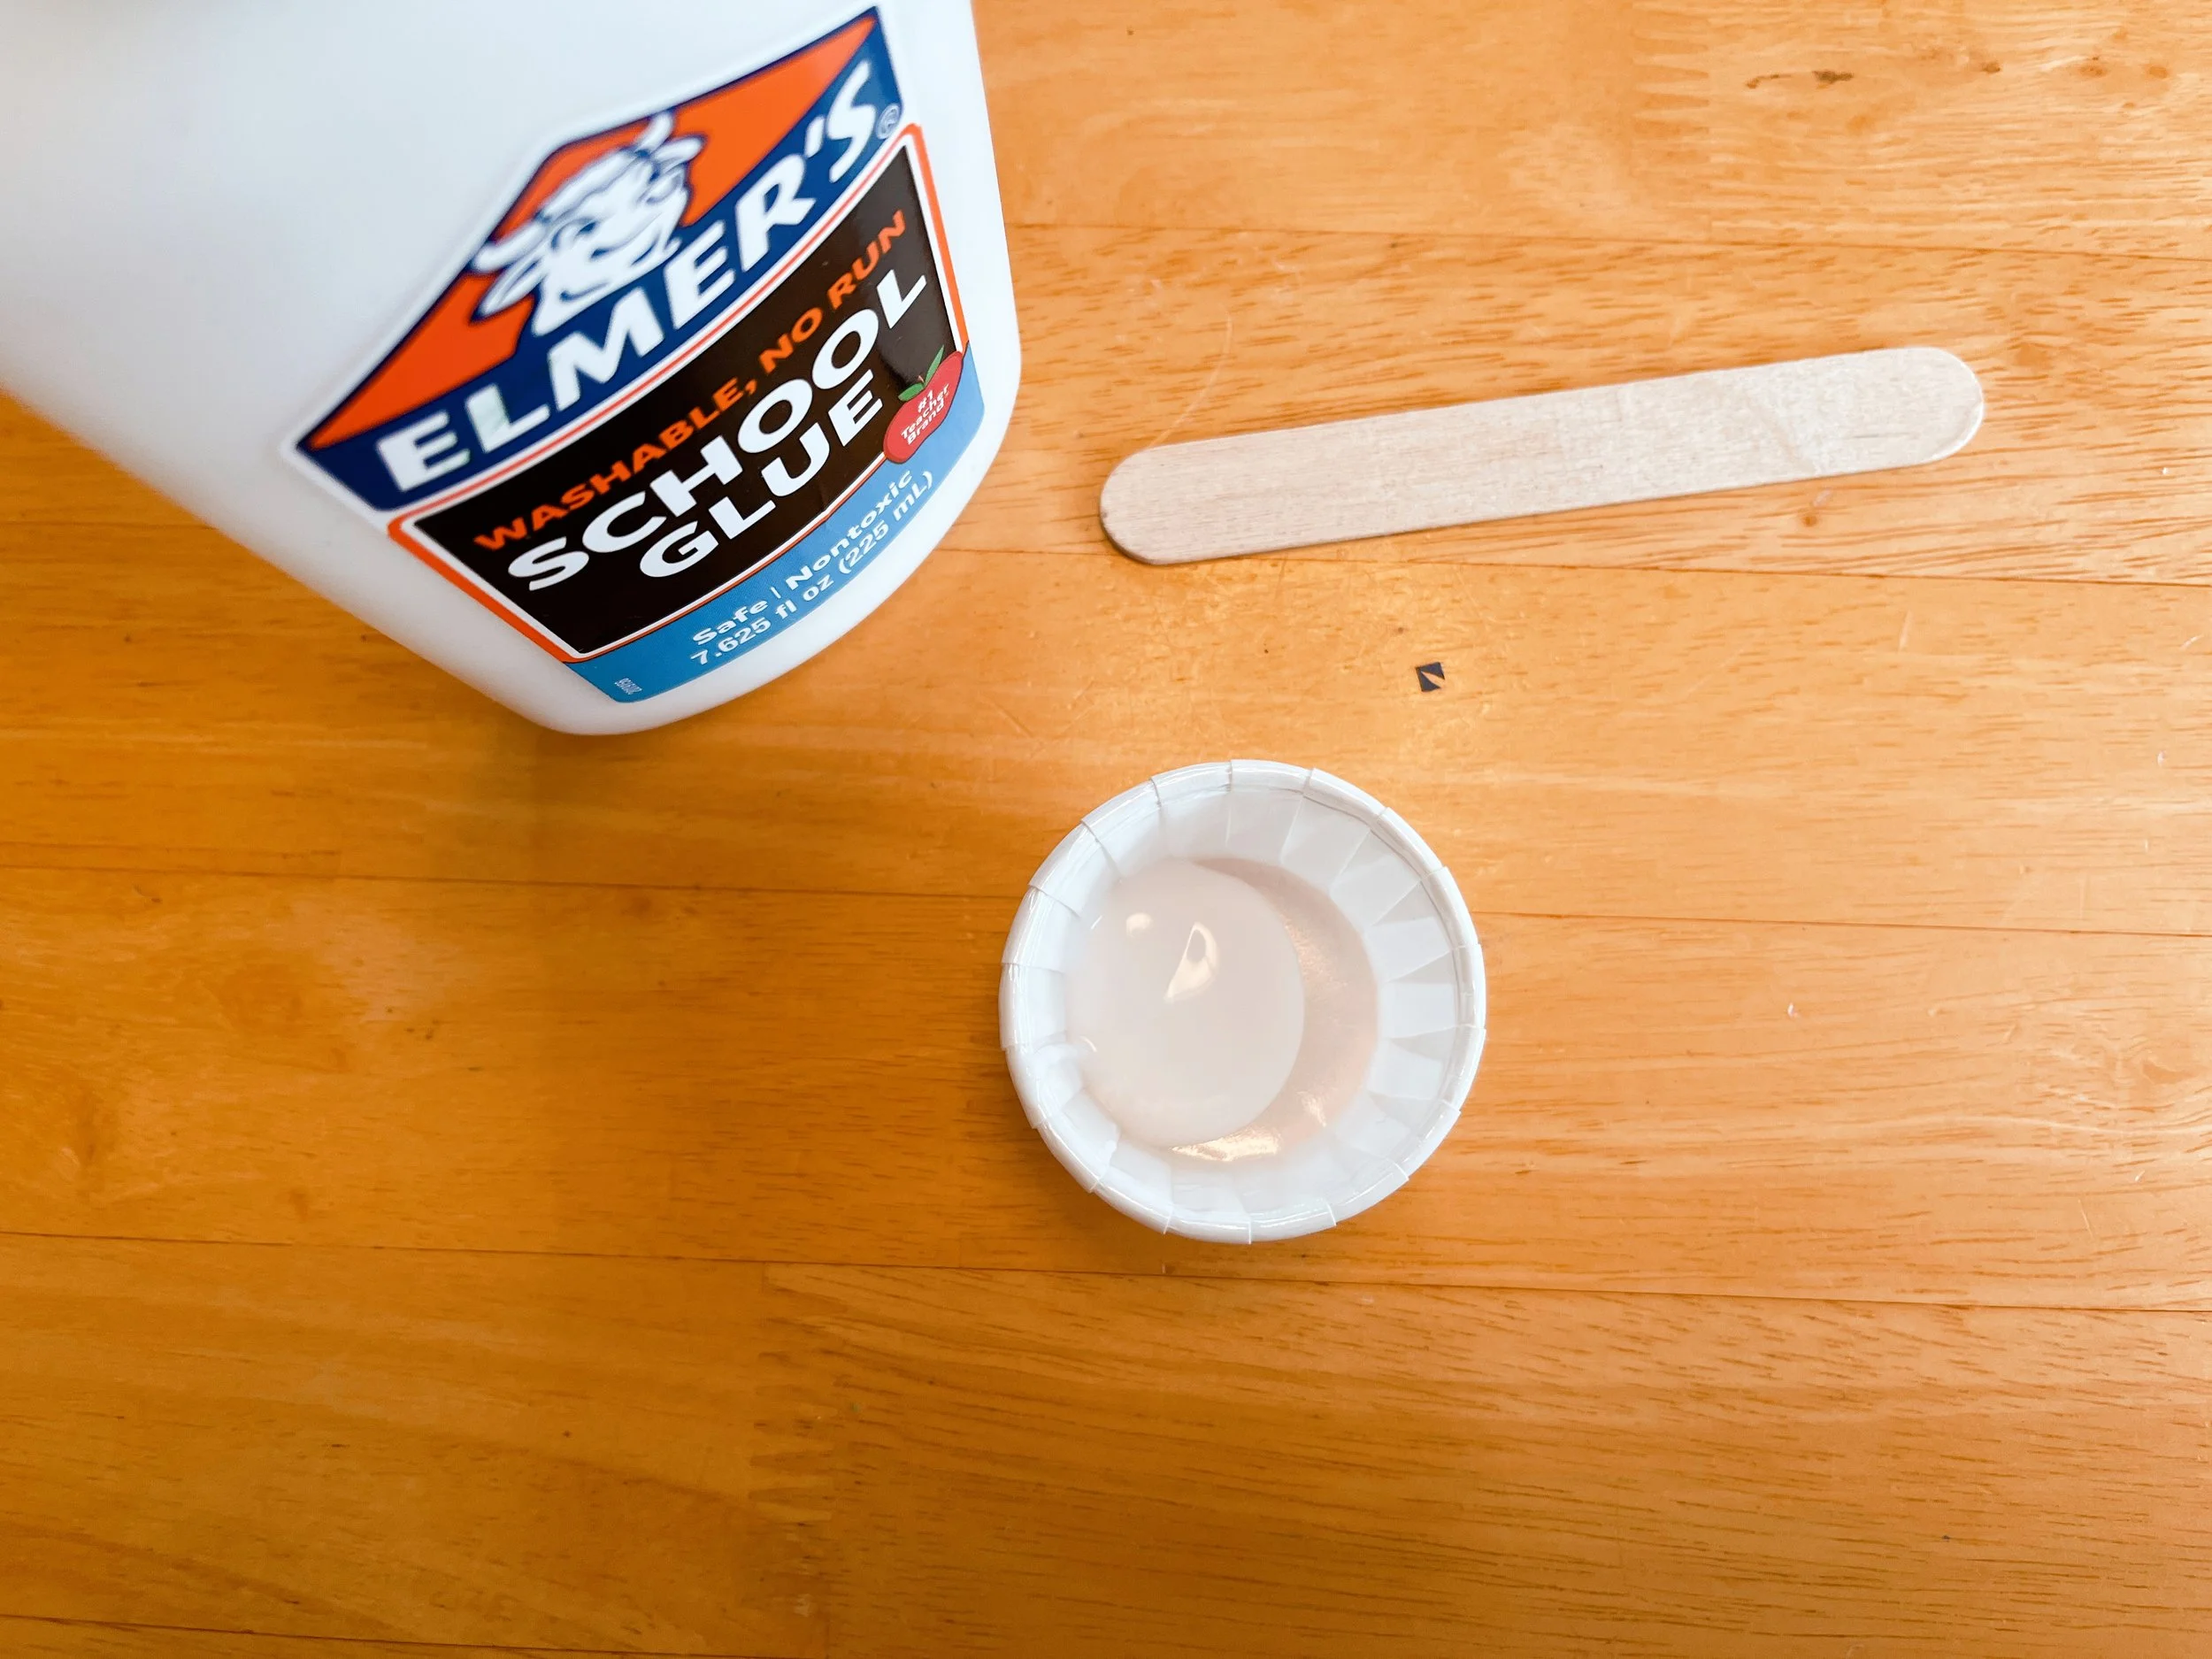
This part is optional depending on the age and ability of your child. If squeezing a glue bottle is tricky for them, pour it into a cup for them.

Cut out a butterfly shape from your poster paper. It’s easier to get symmetrical if you fold the paper in half before drawing and cutting.
Depending on your child’s age, this may also be something they can do on their own!
Step-by-Step:
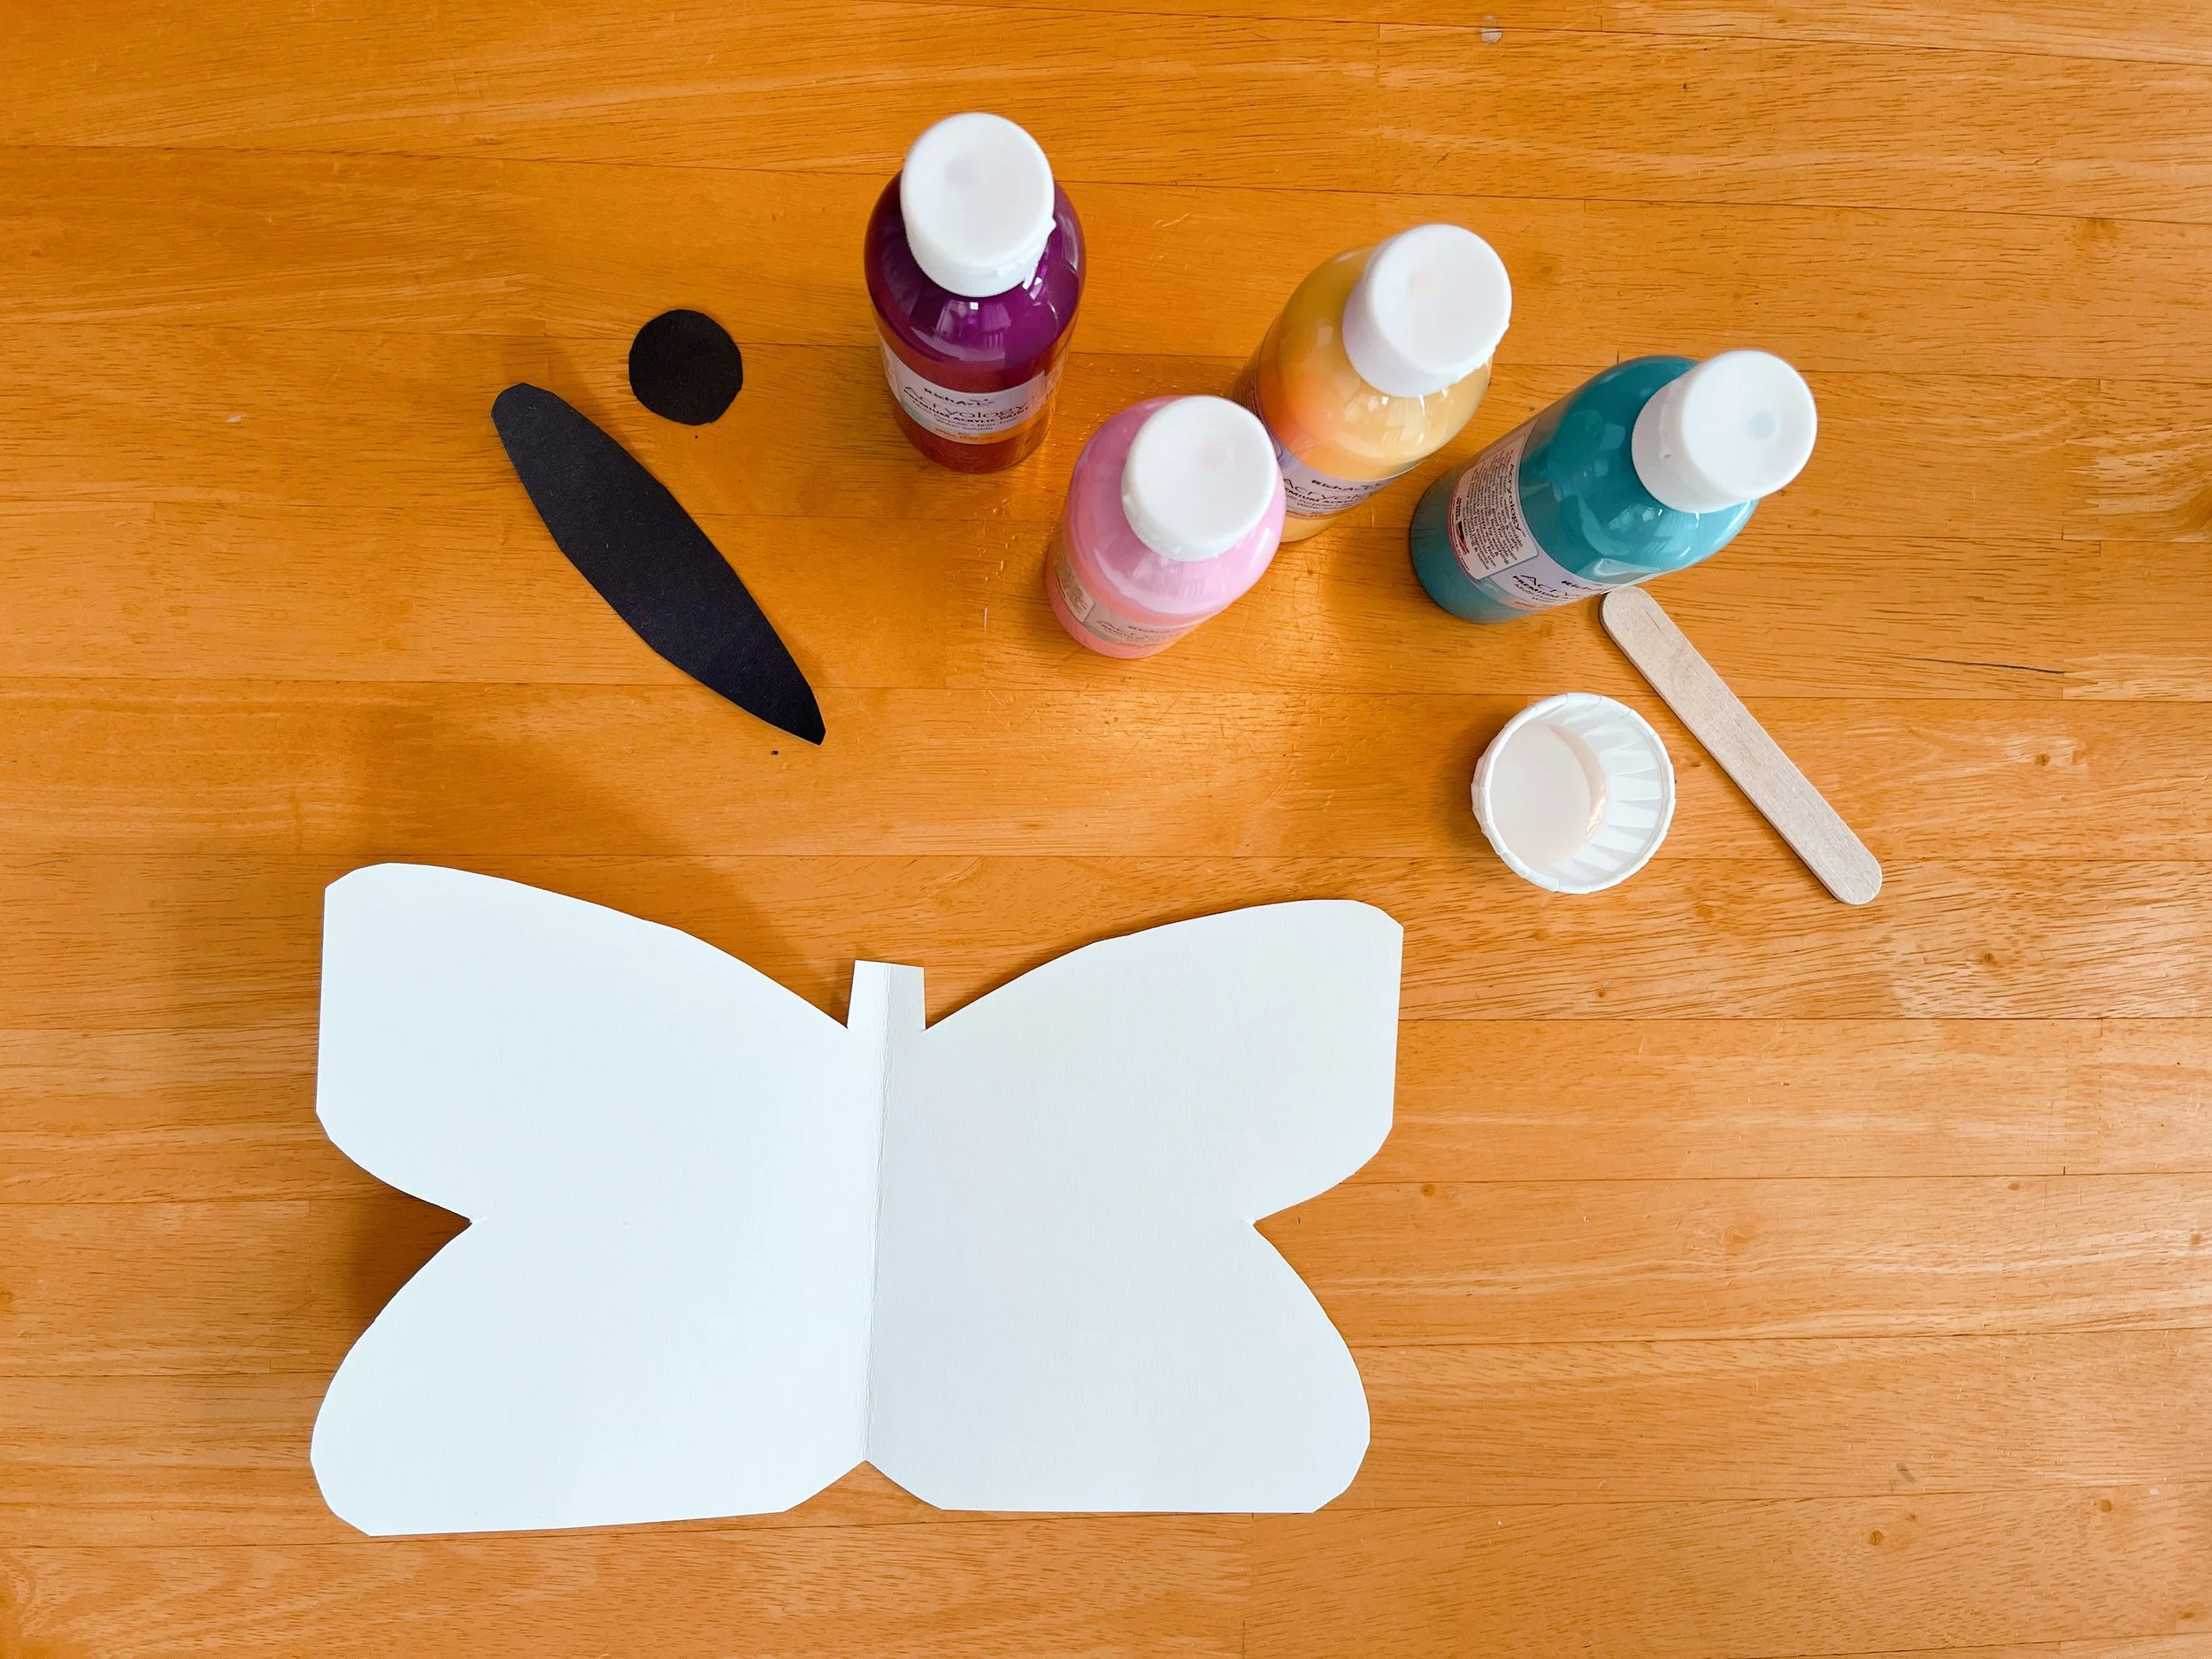
Gather all your supplies: Different colored paints, the butterfly wings and body, and some glue.
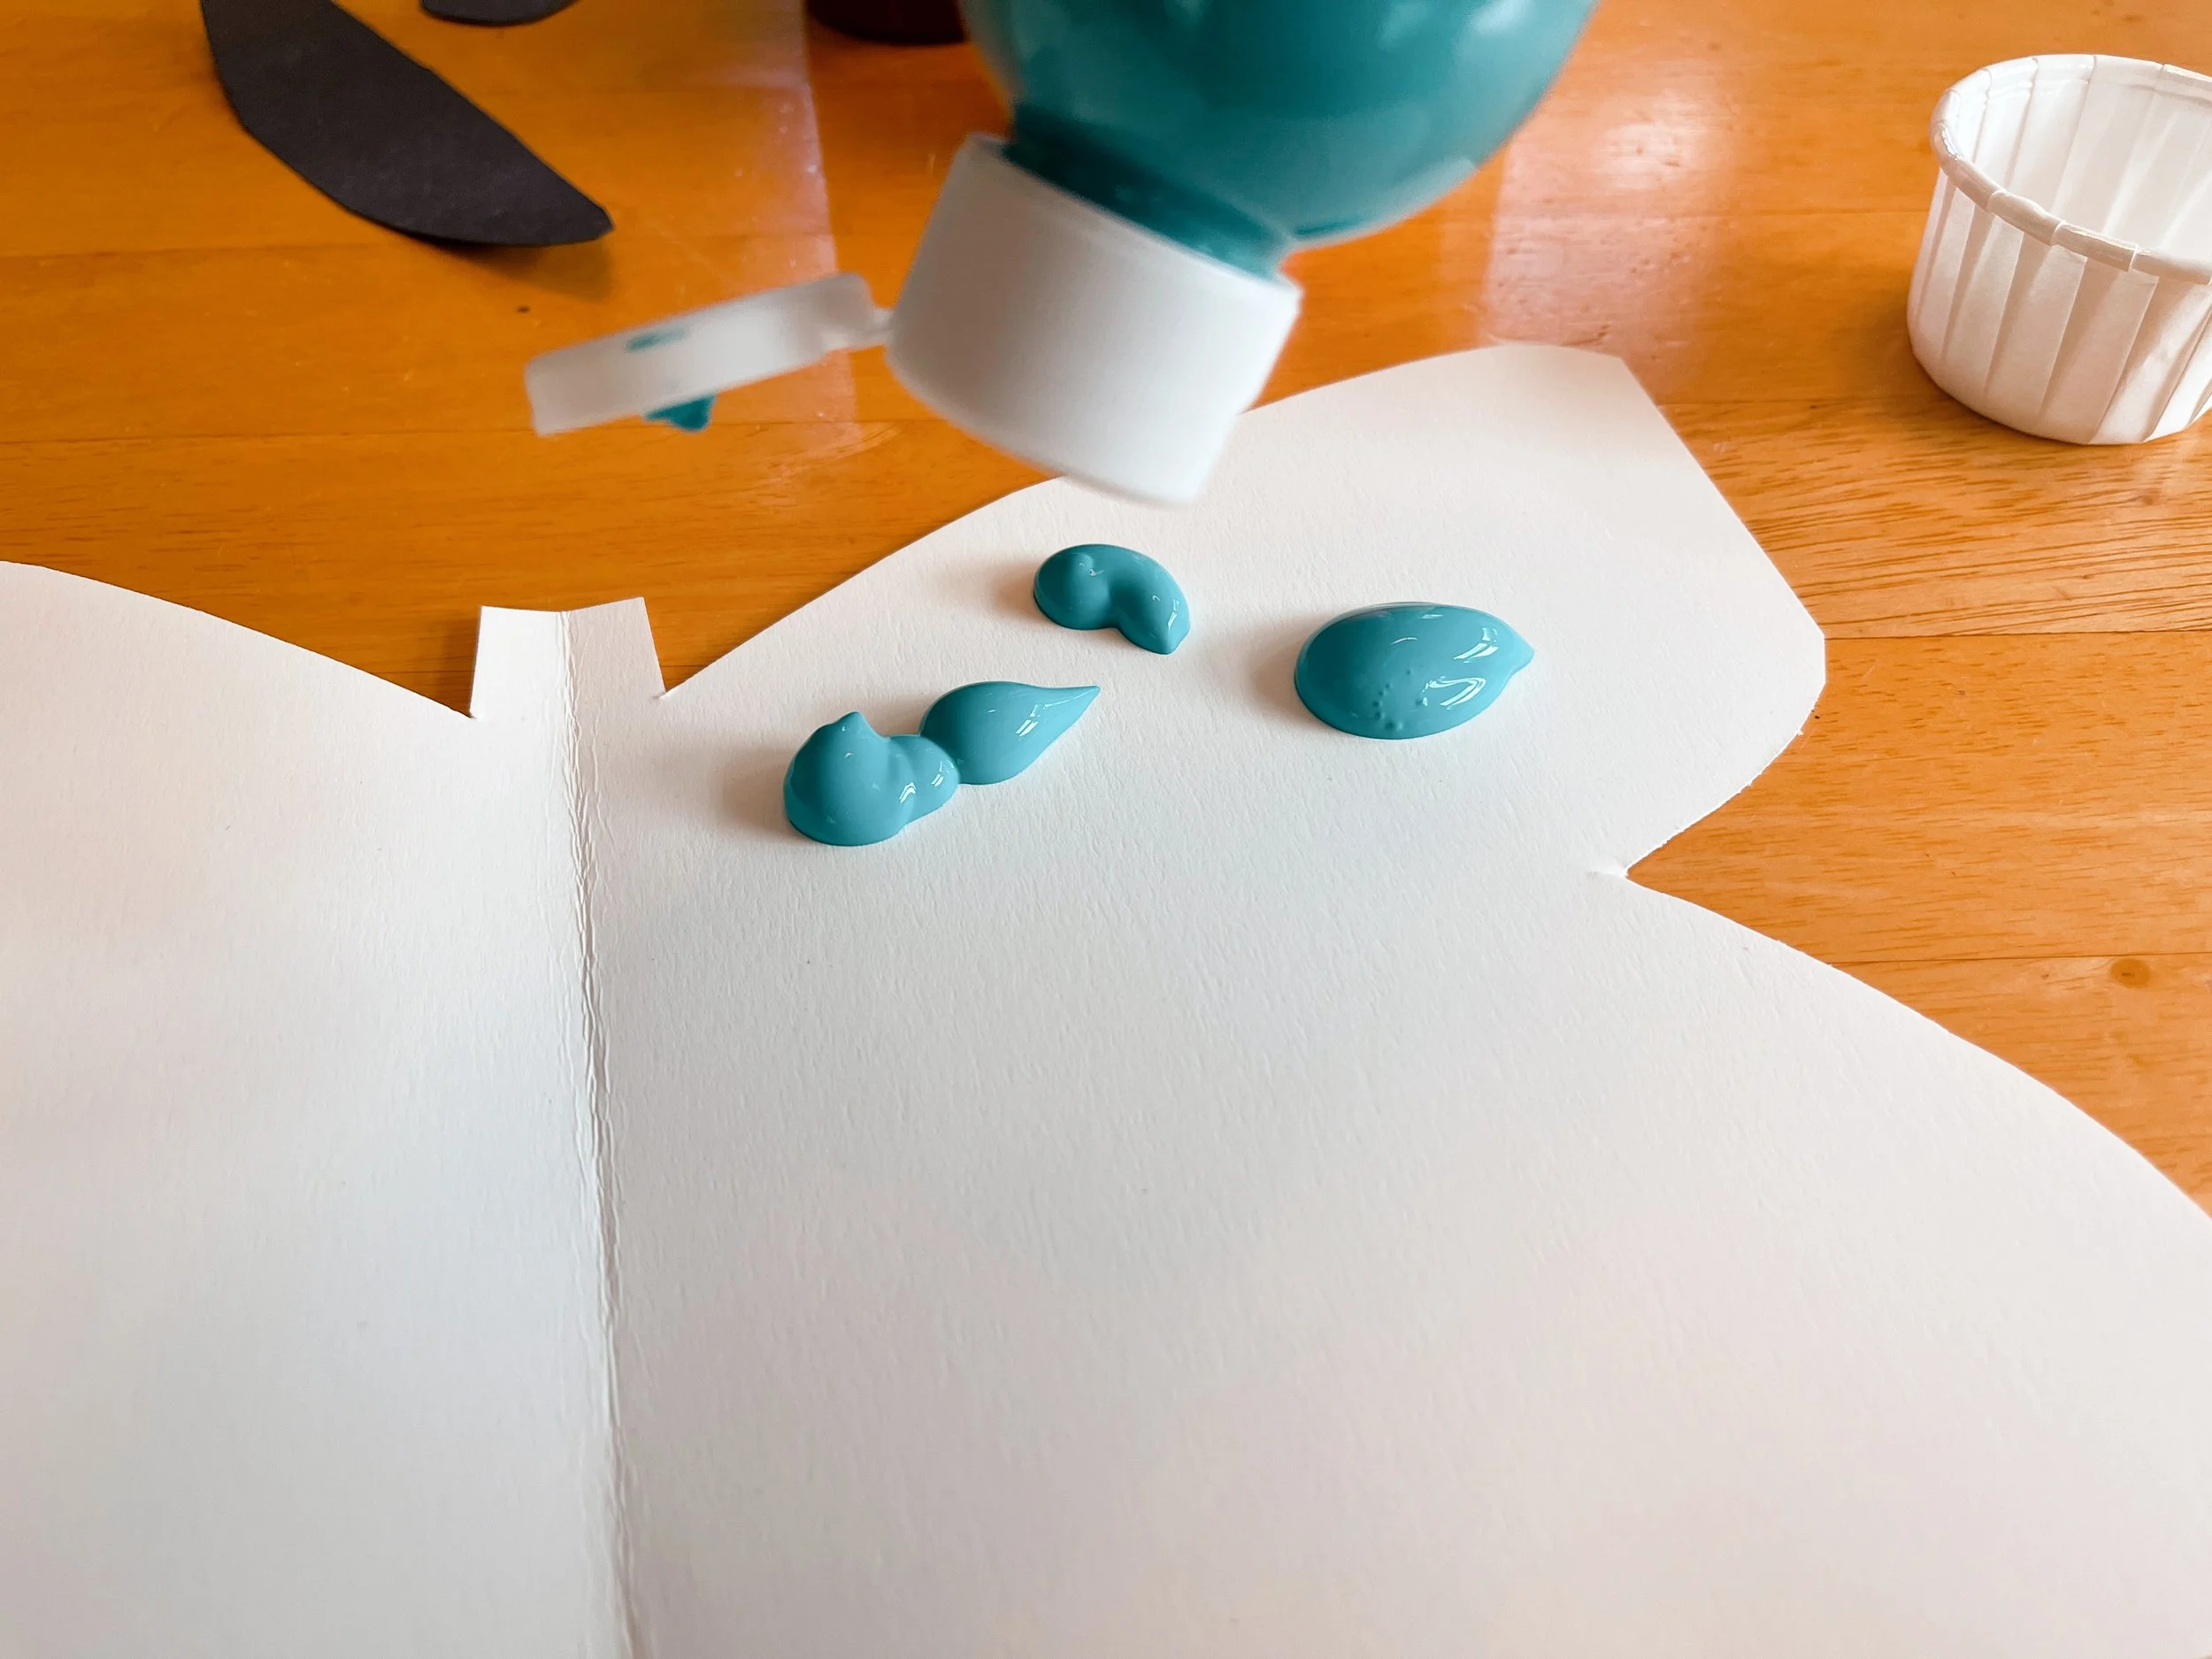
The paint bottles are used to drop paint directly onto the wings of the butterfly. You want there to be big globs of paint everywhere!
If the child is too young to be using paint bottles, pour some into small cups for them so they can pour it onto the paper themselves.

The artist can pick whatever colors they want to use.
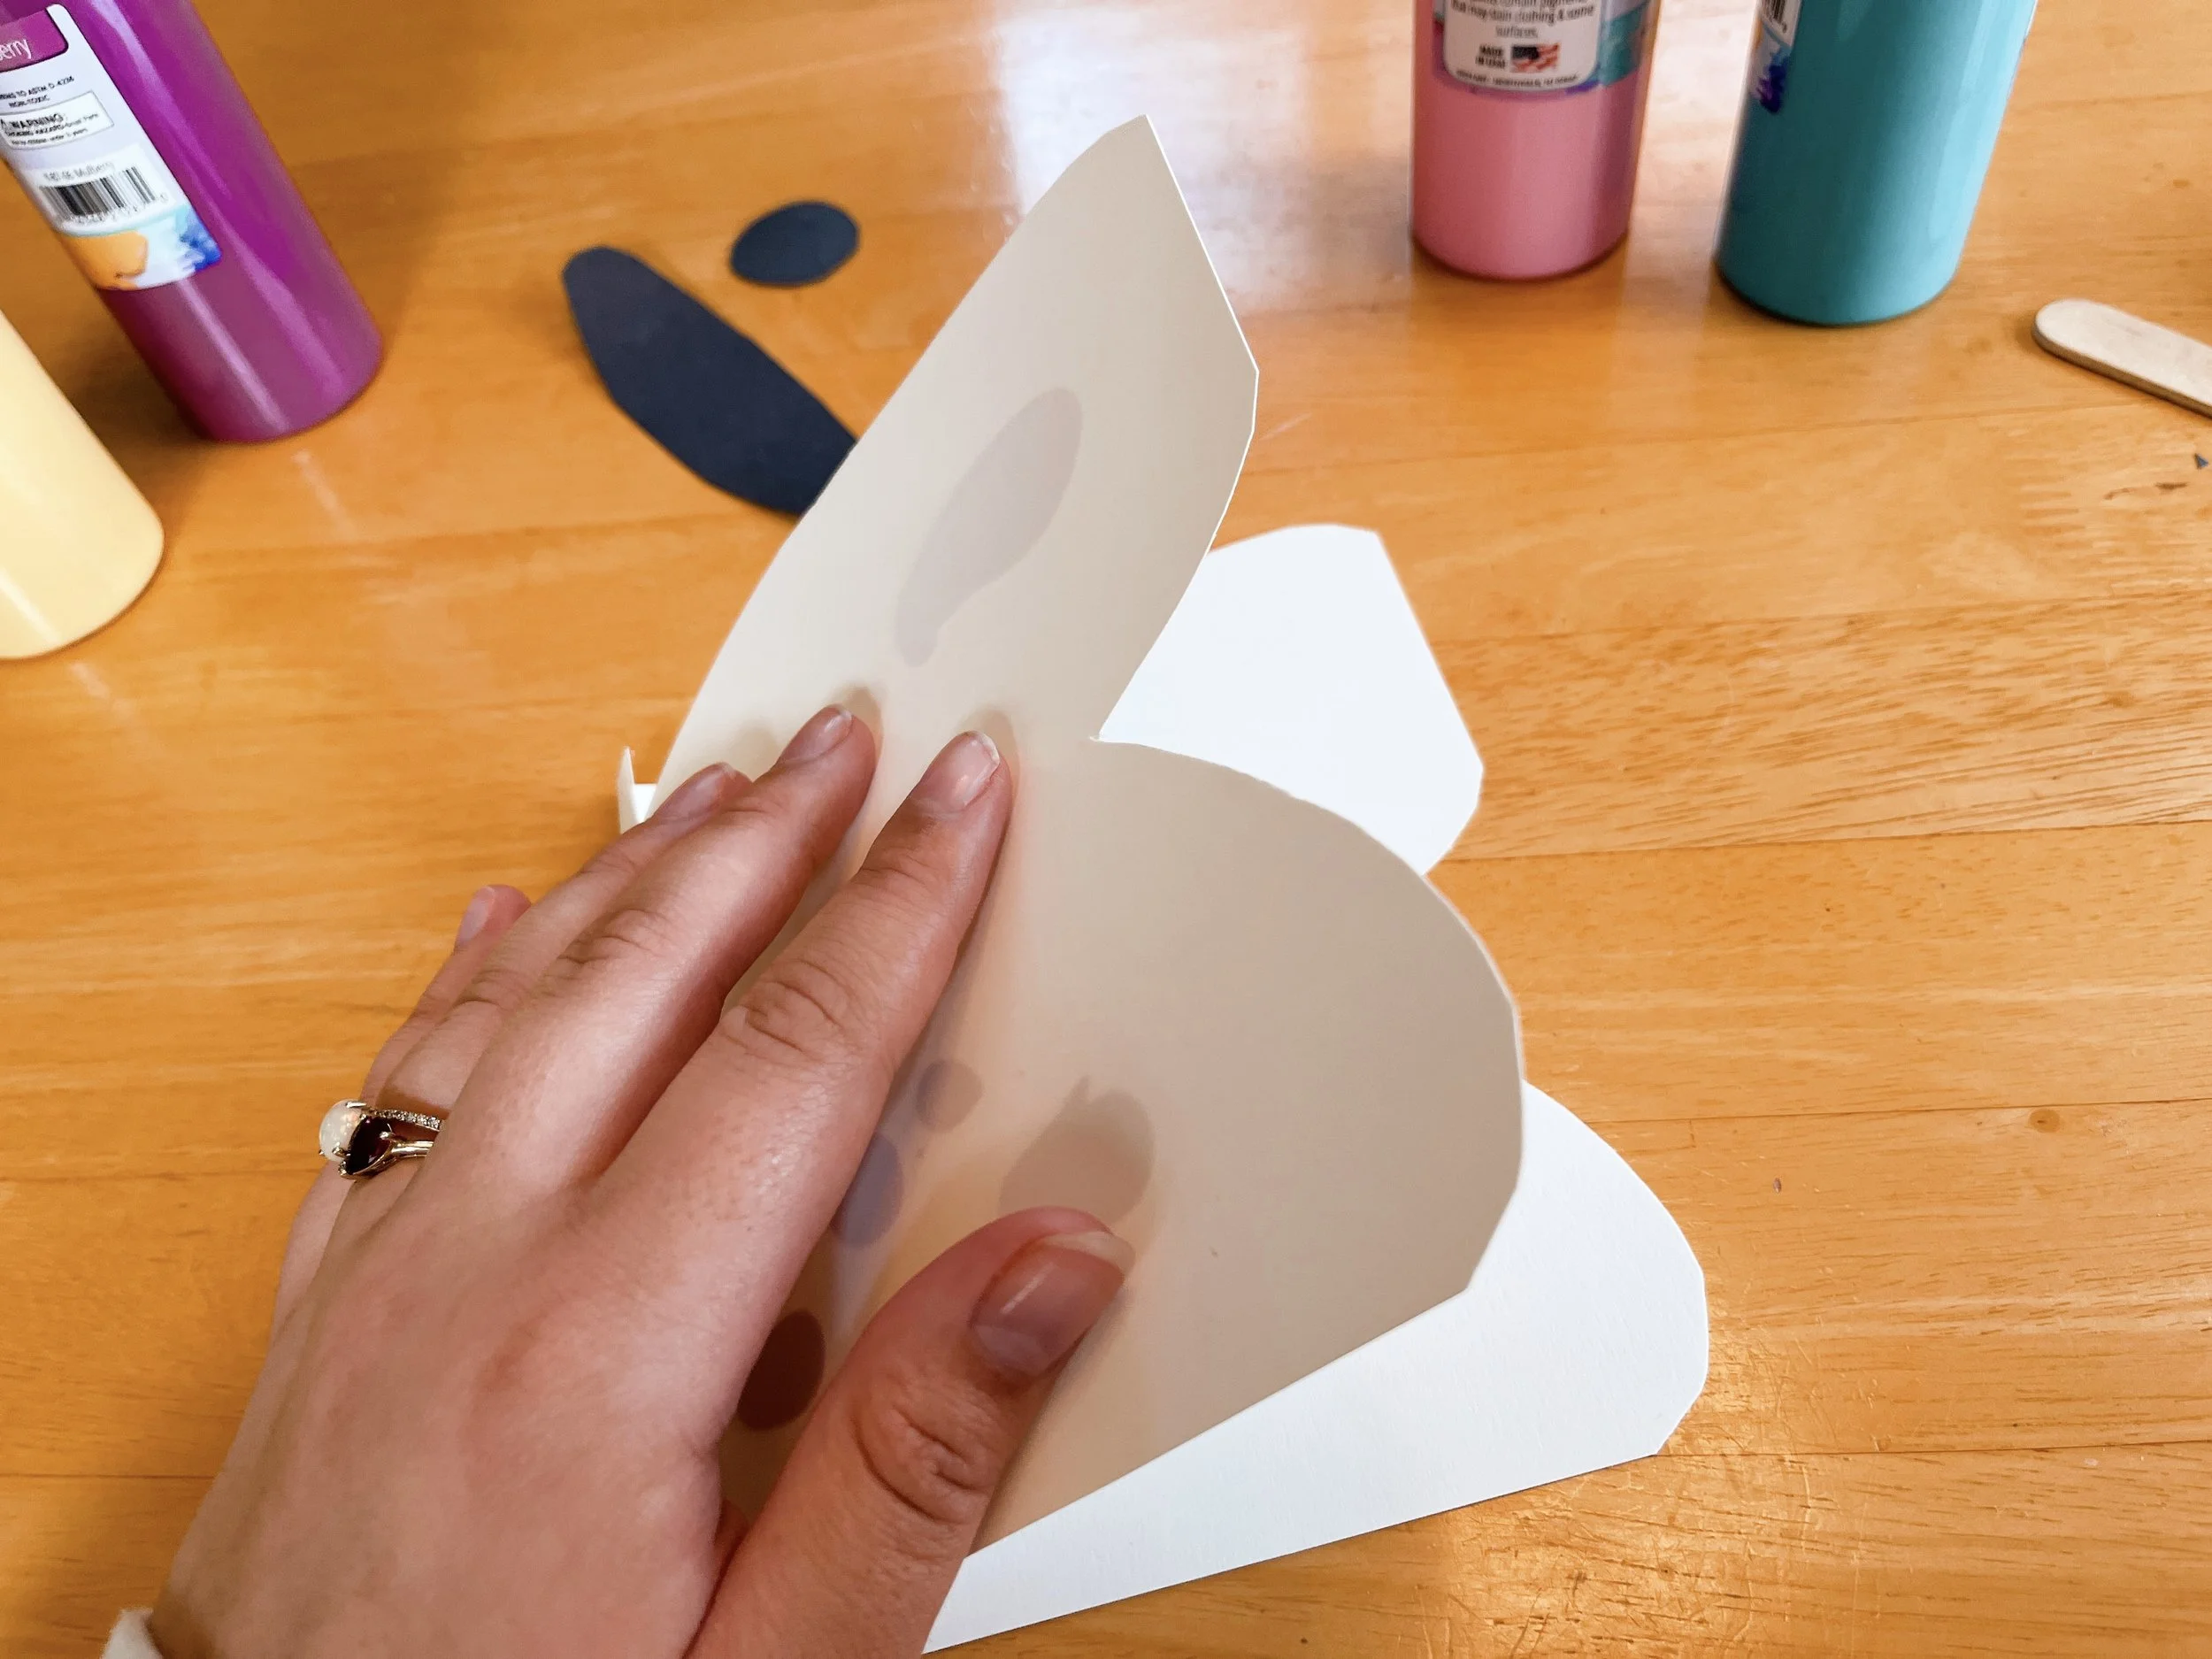
Fold the butterfly…

And squish squish squish!
(This is where a table cover may come in handy, depending on how much paint was used!)
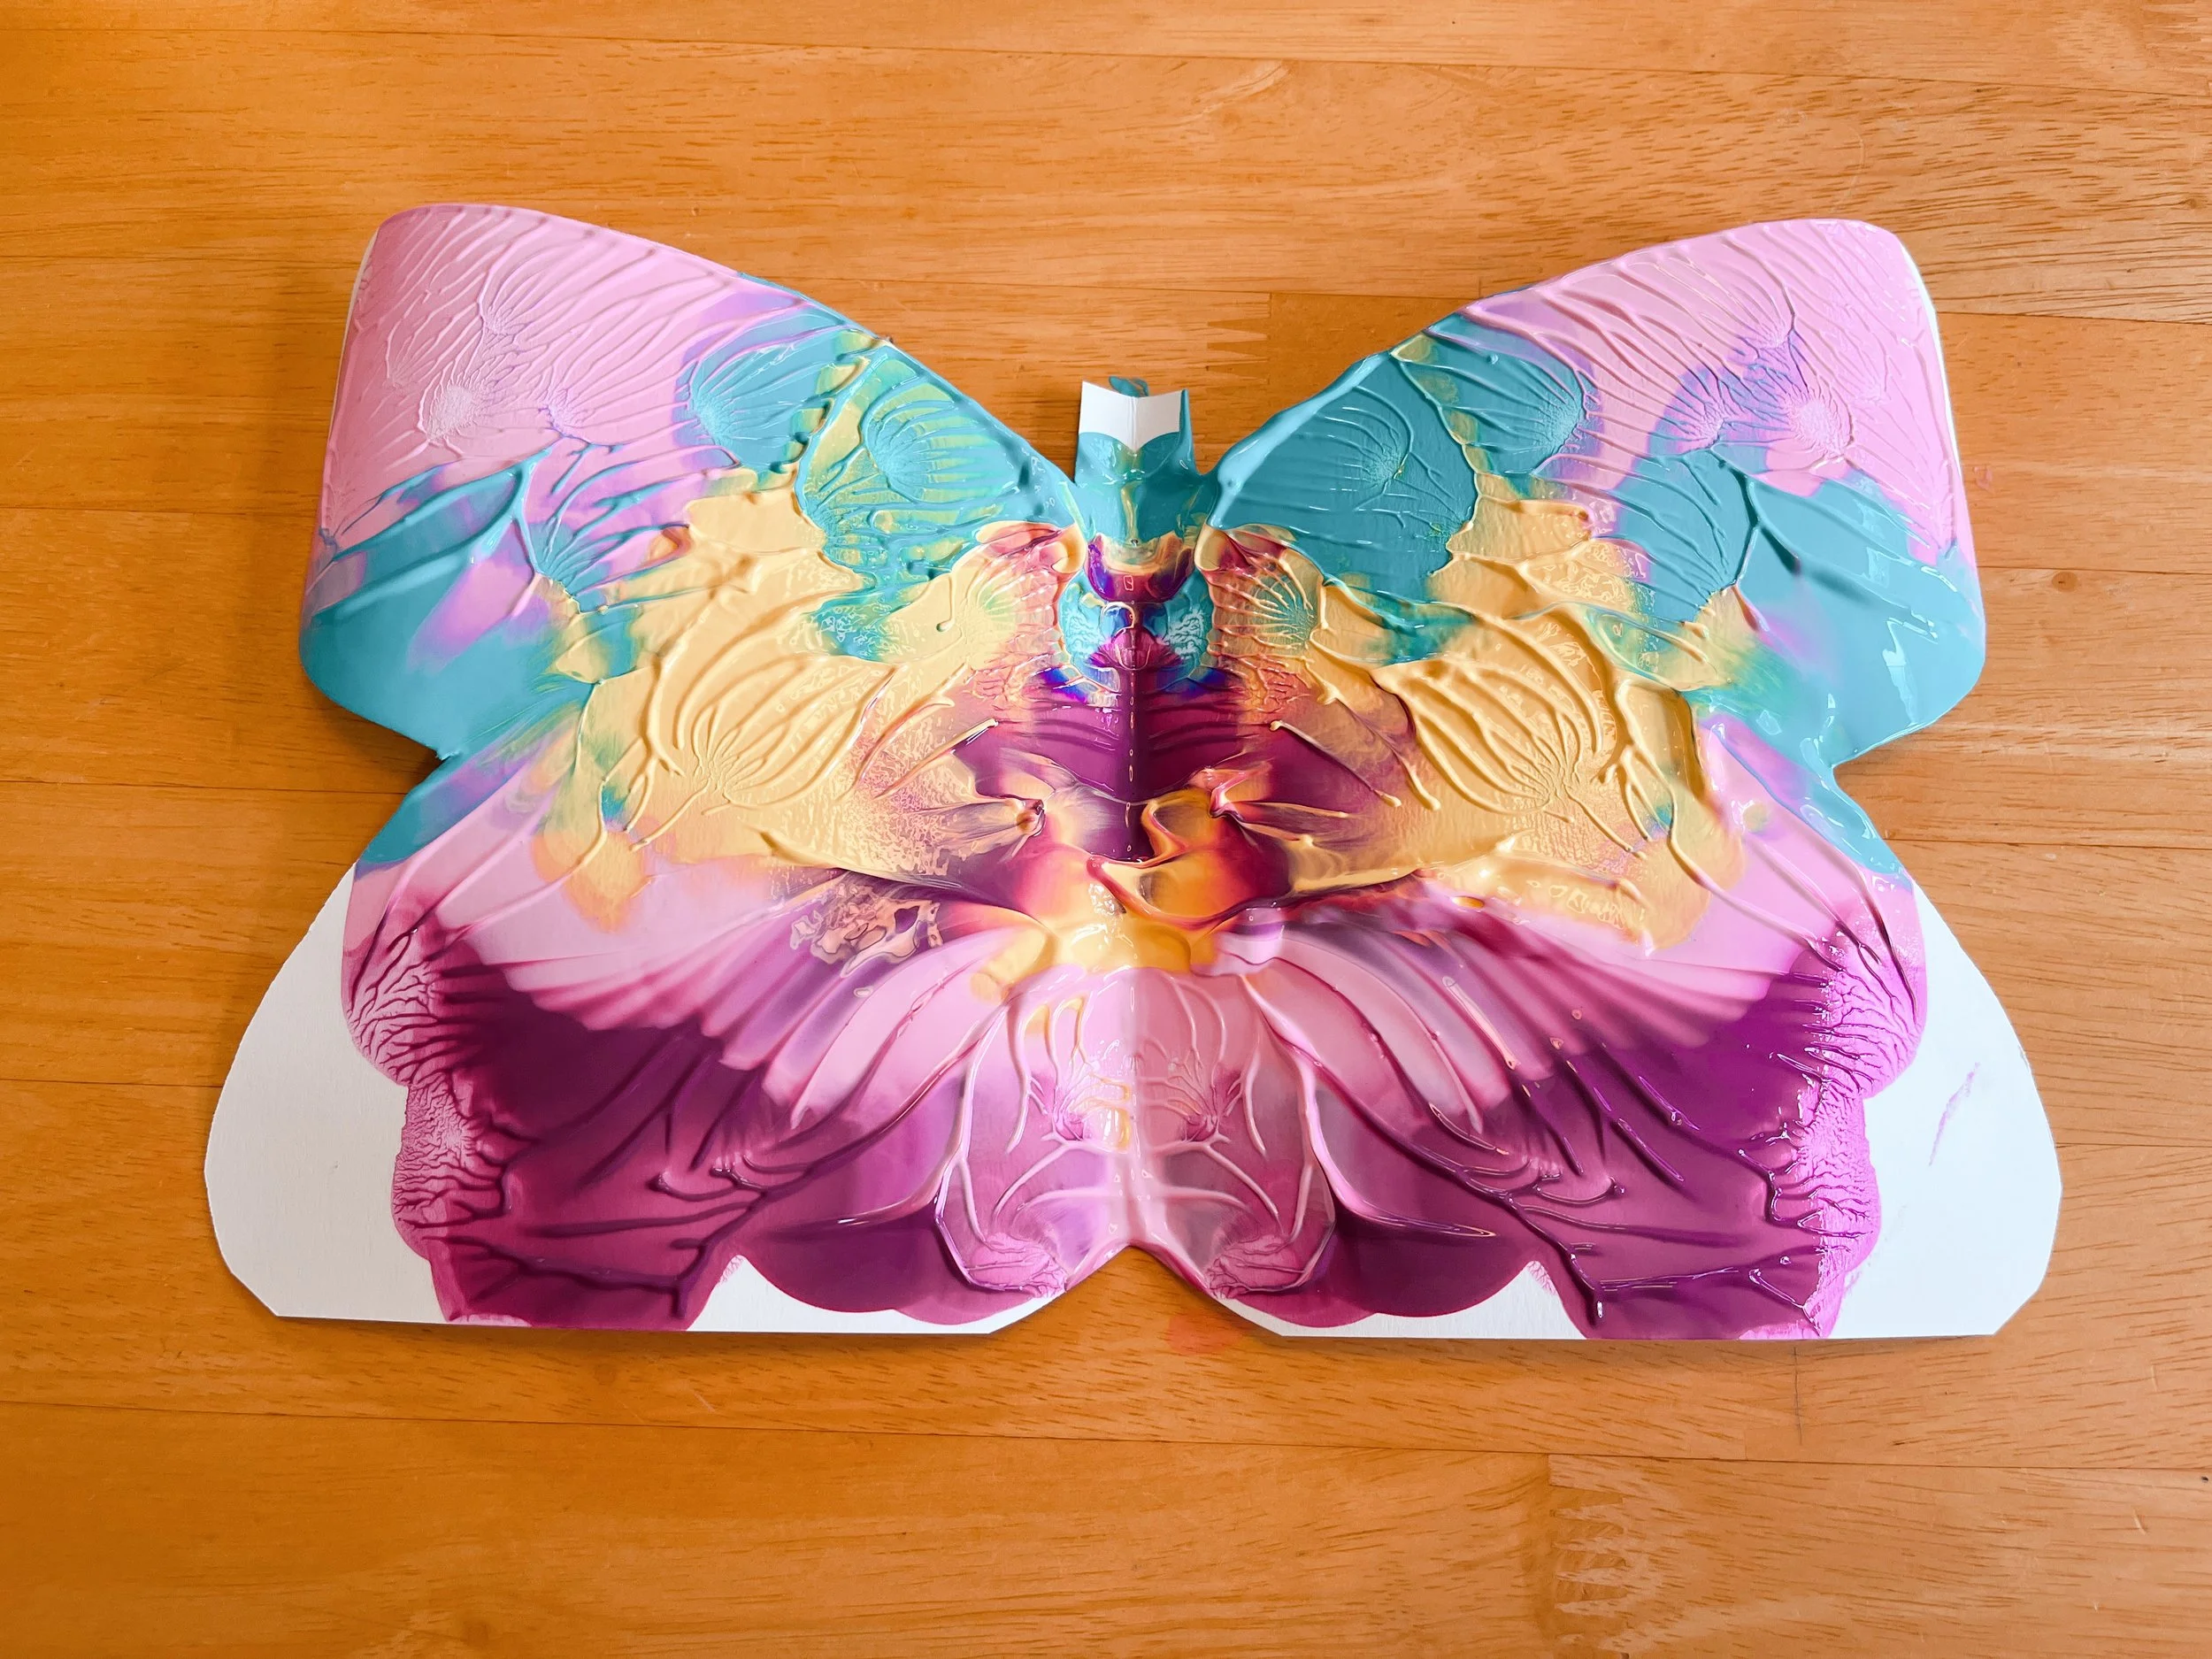
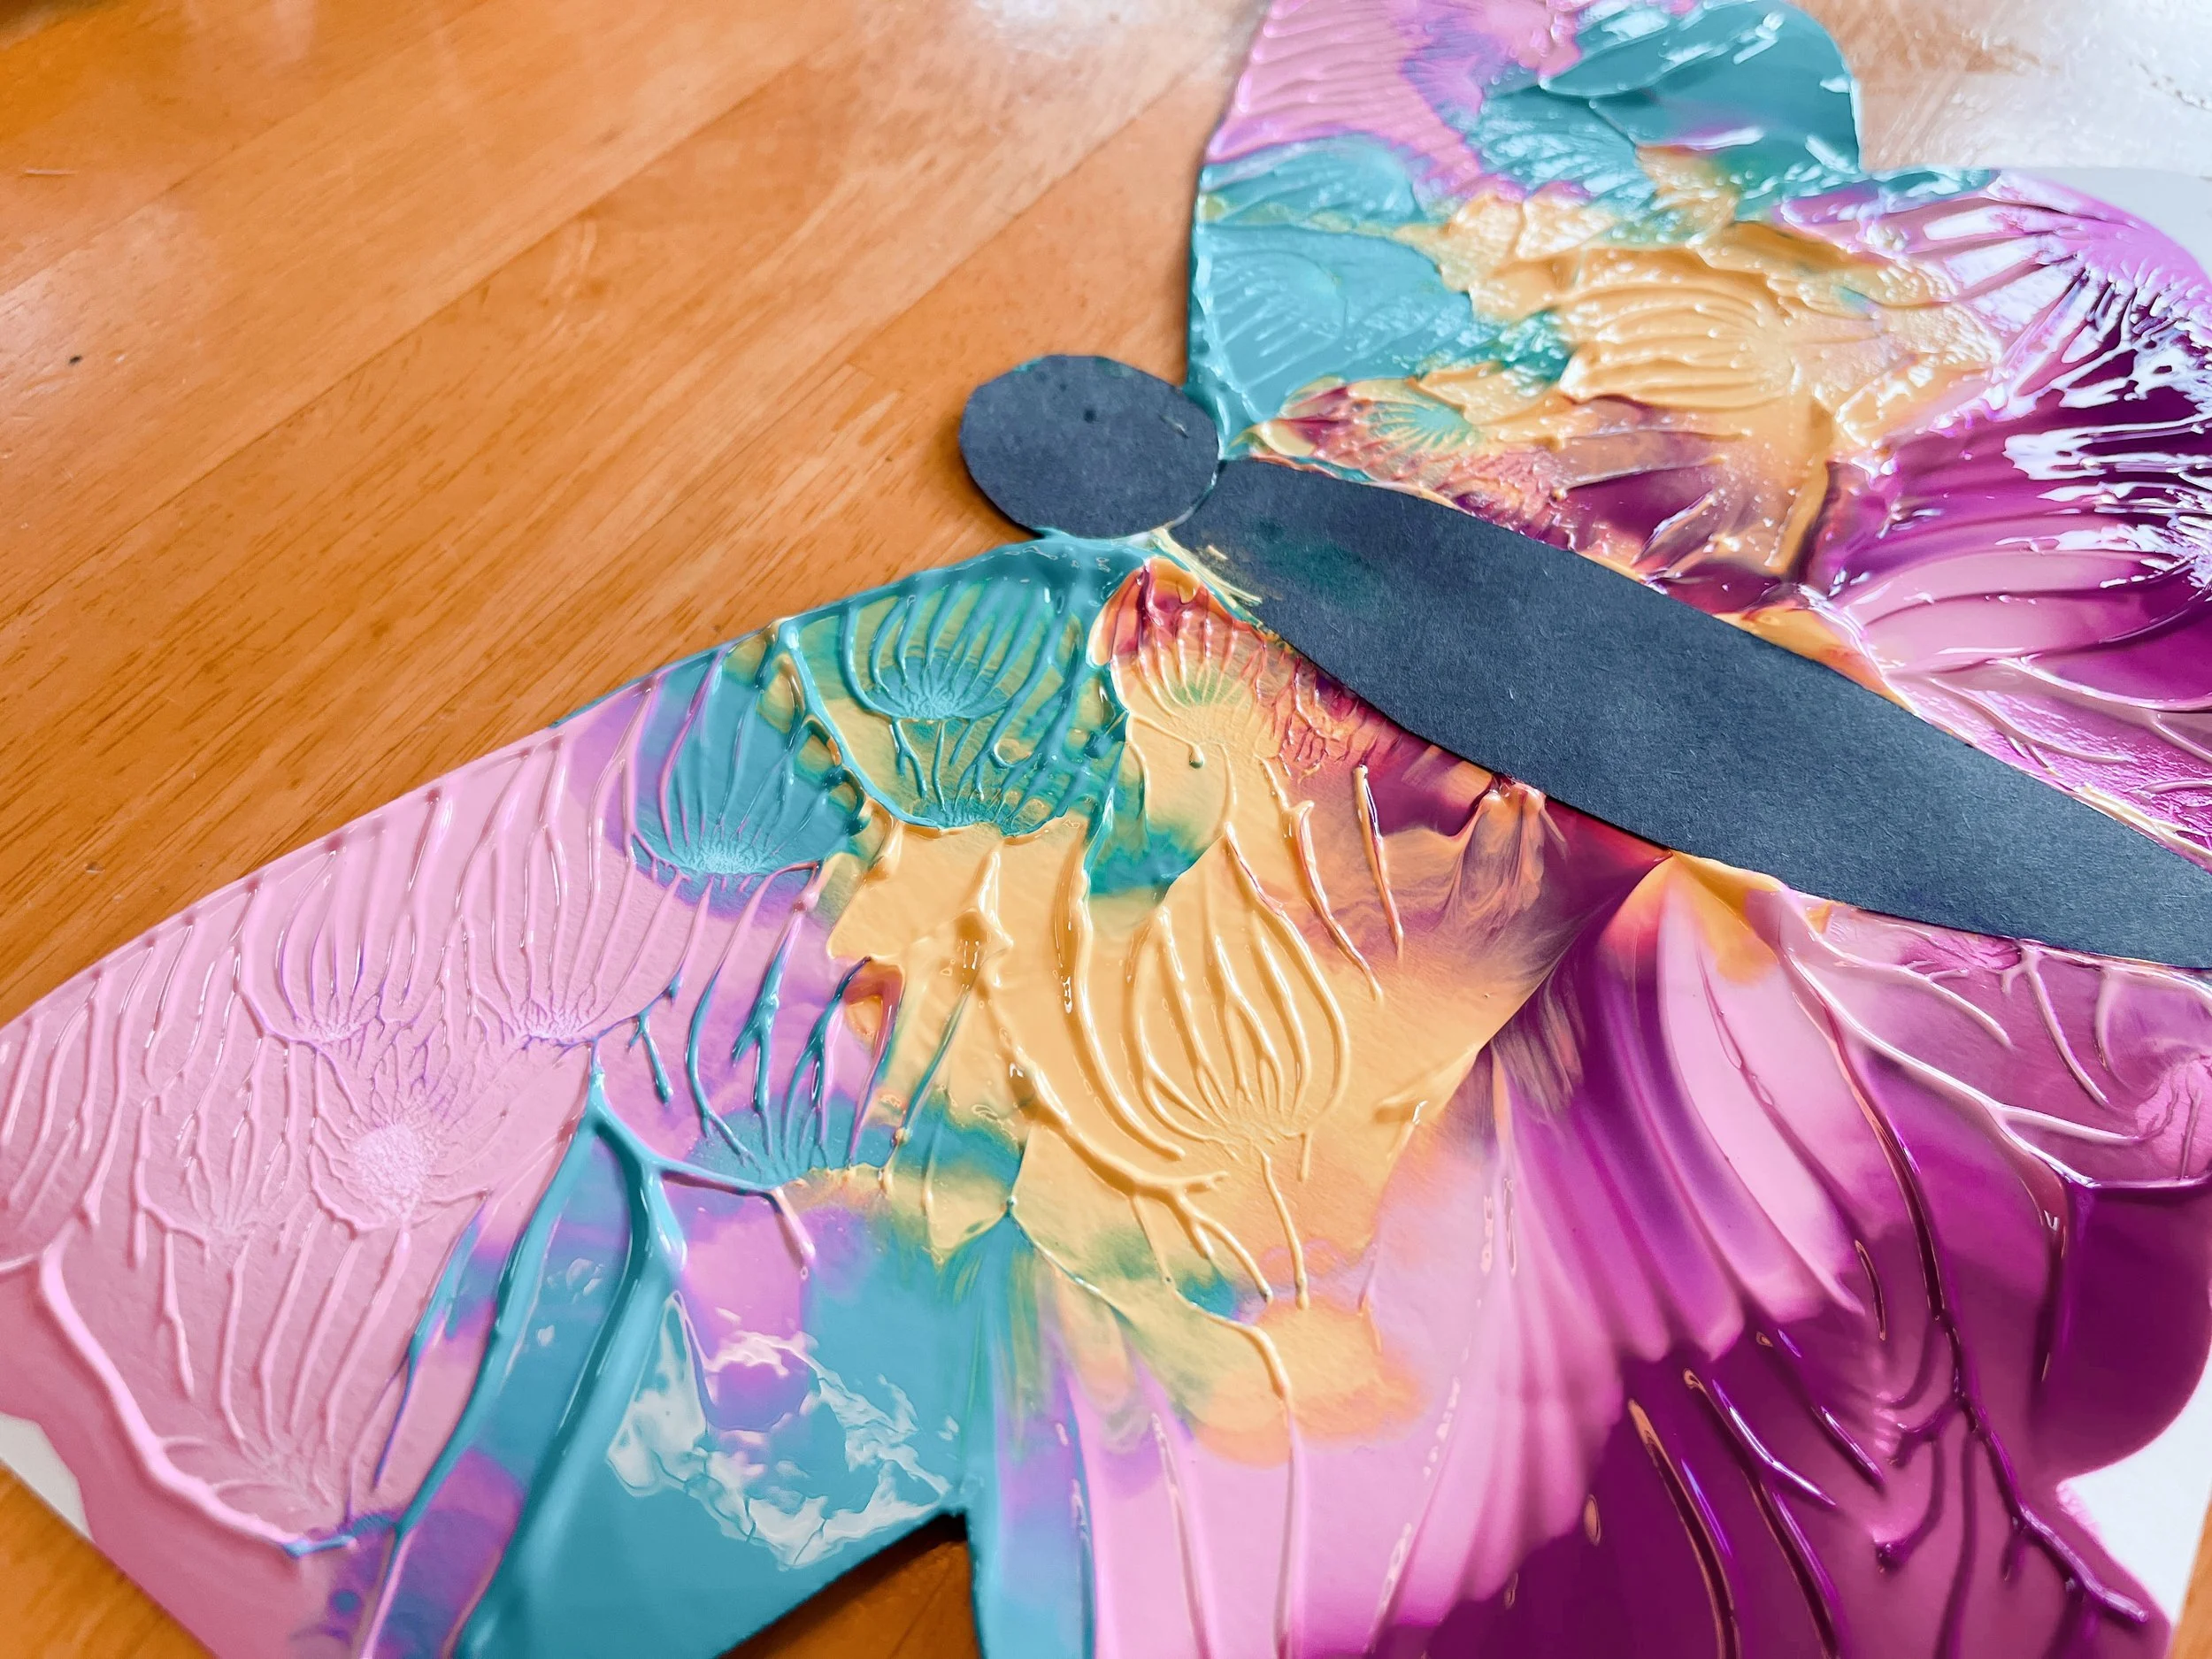
Unfold the butterfly… look how pretty!
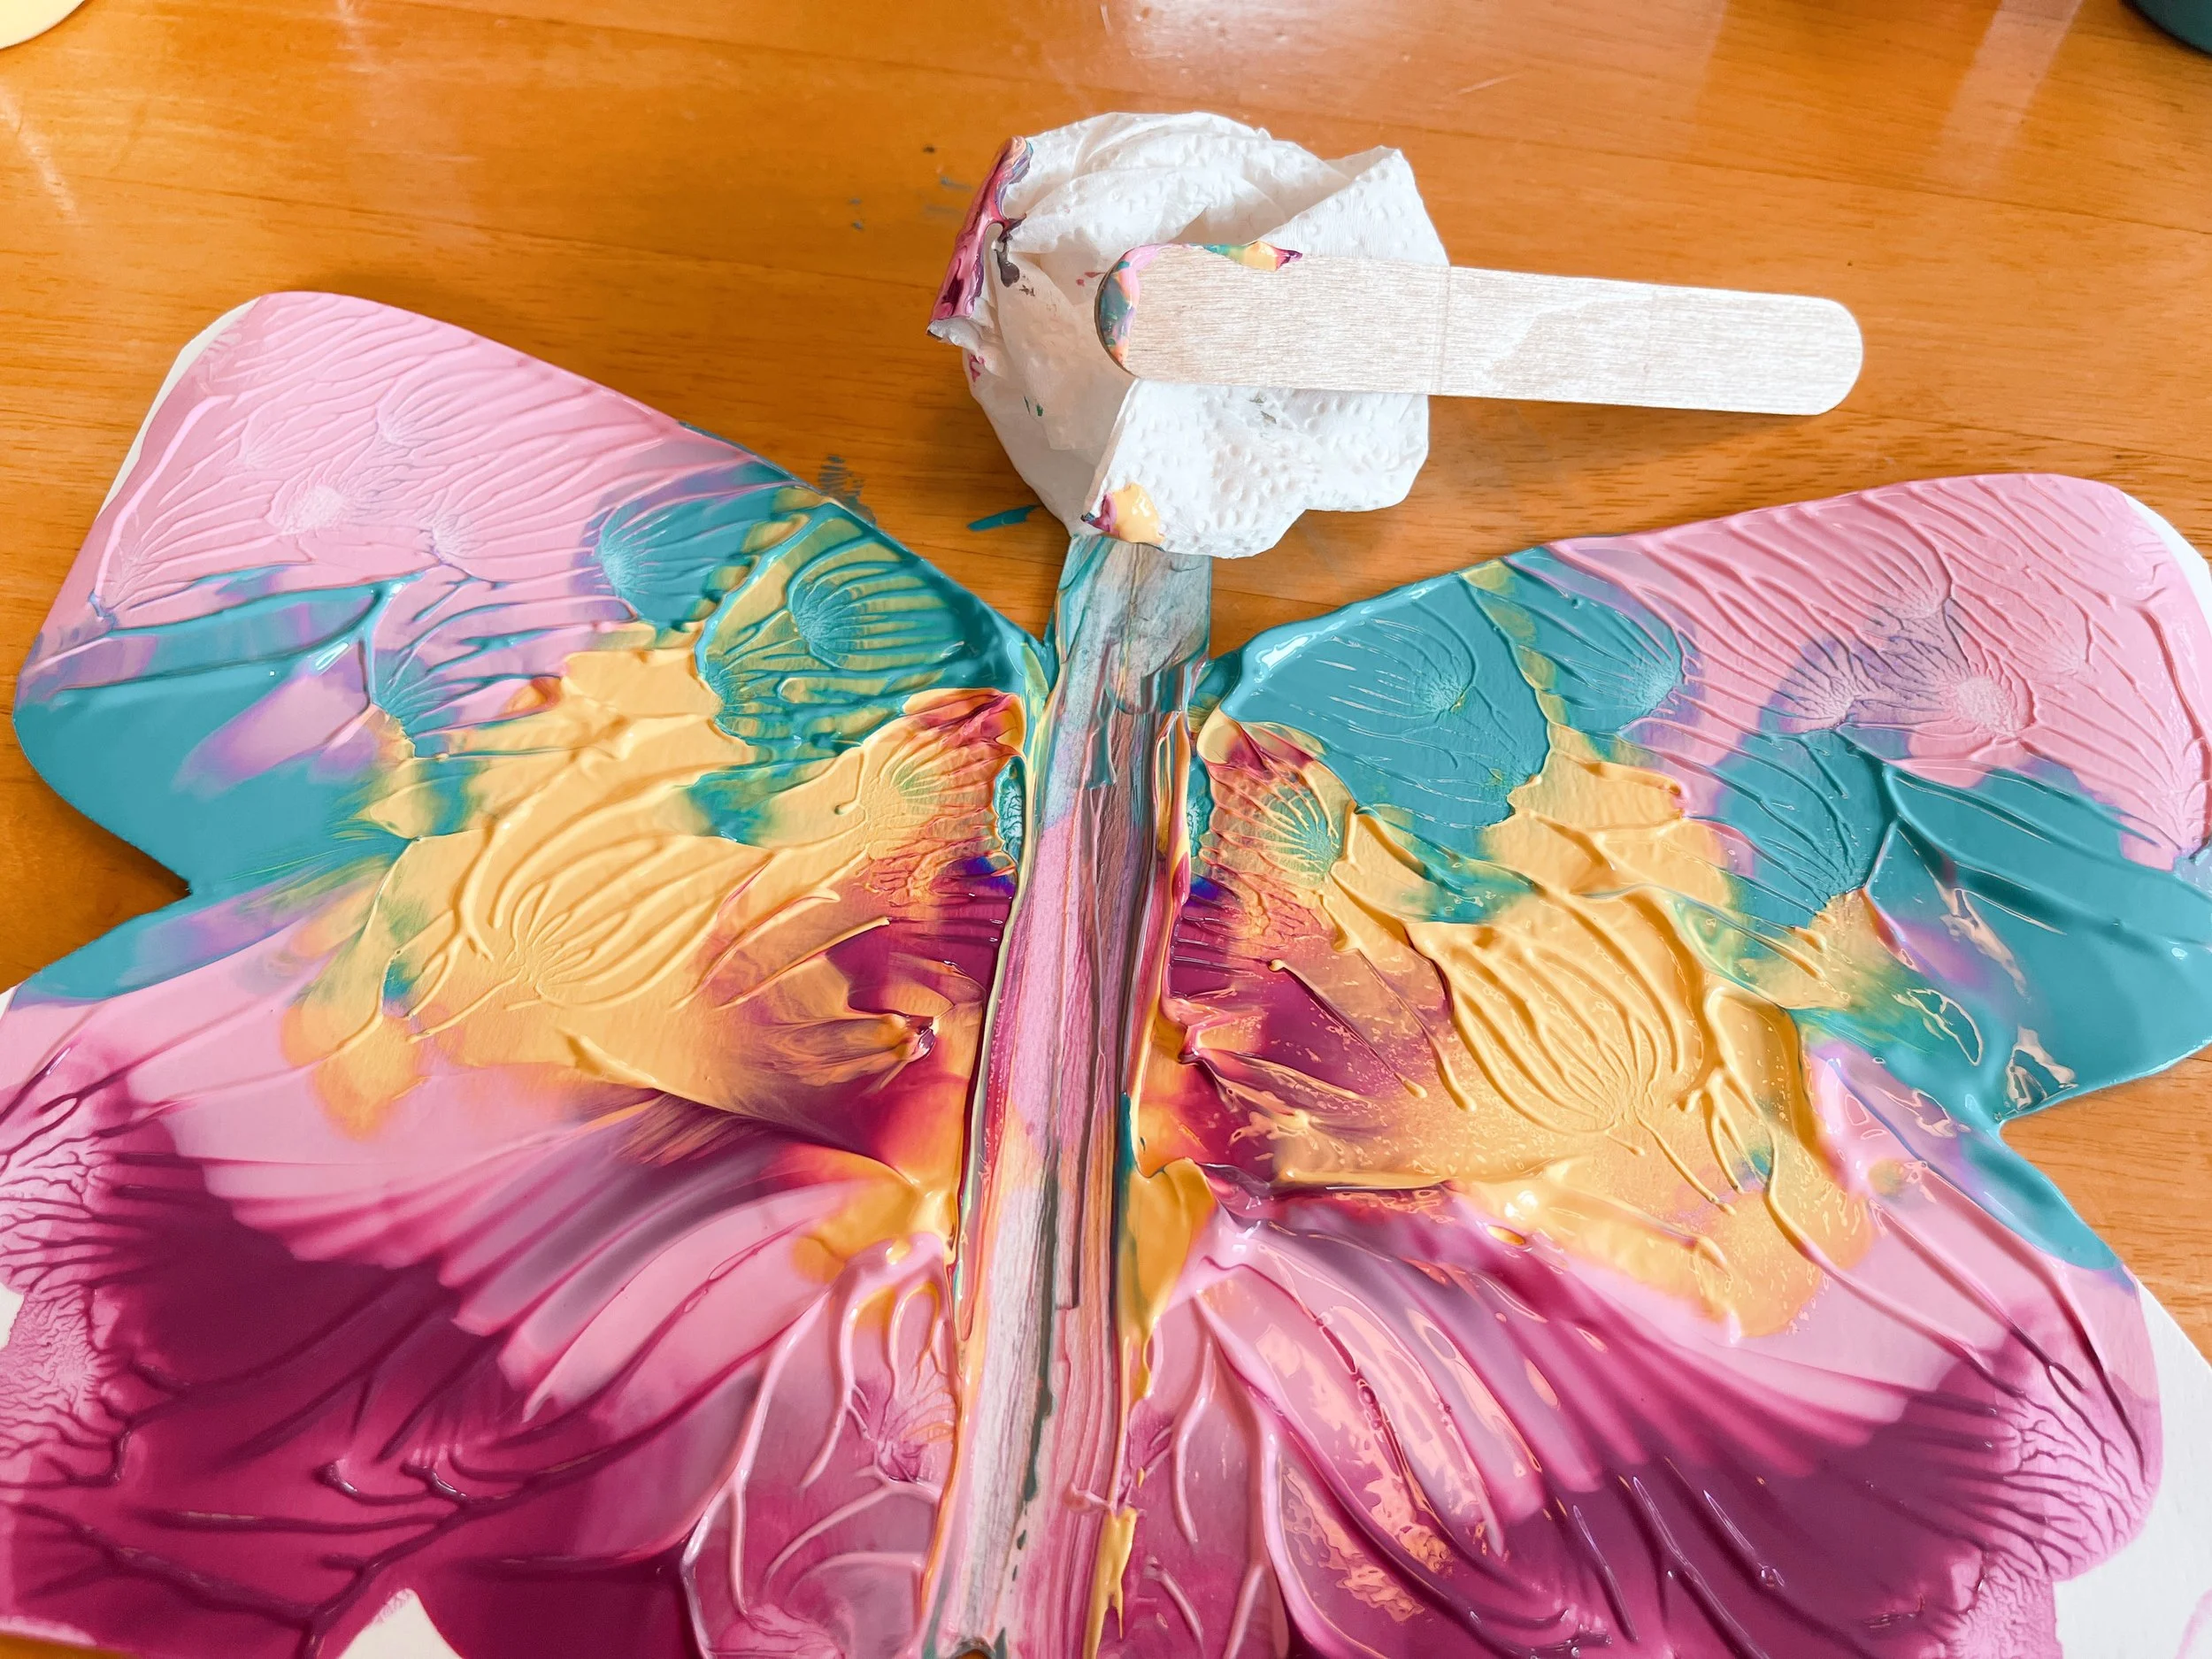
You can wait for the paint to dry to glue the butterfly’s body on, or you can wipe the excess paint off the middle.
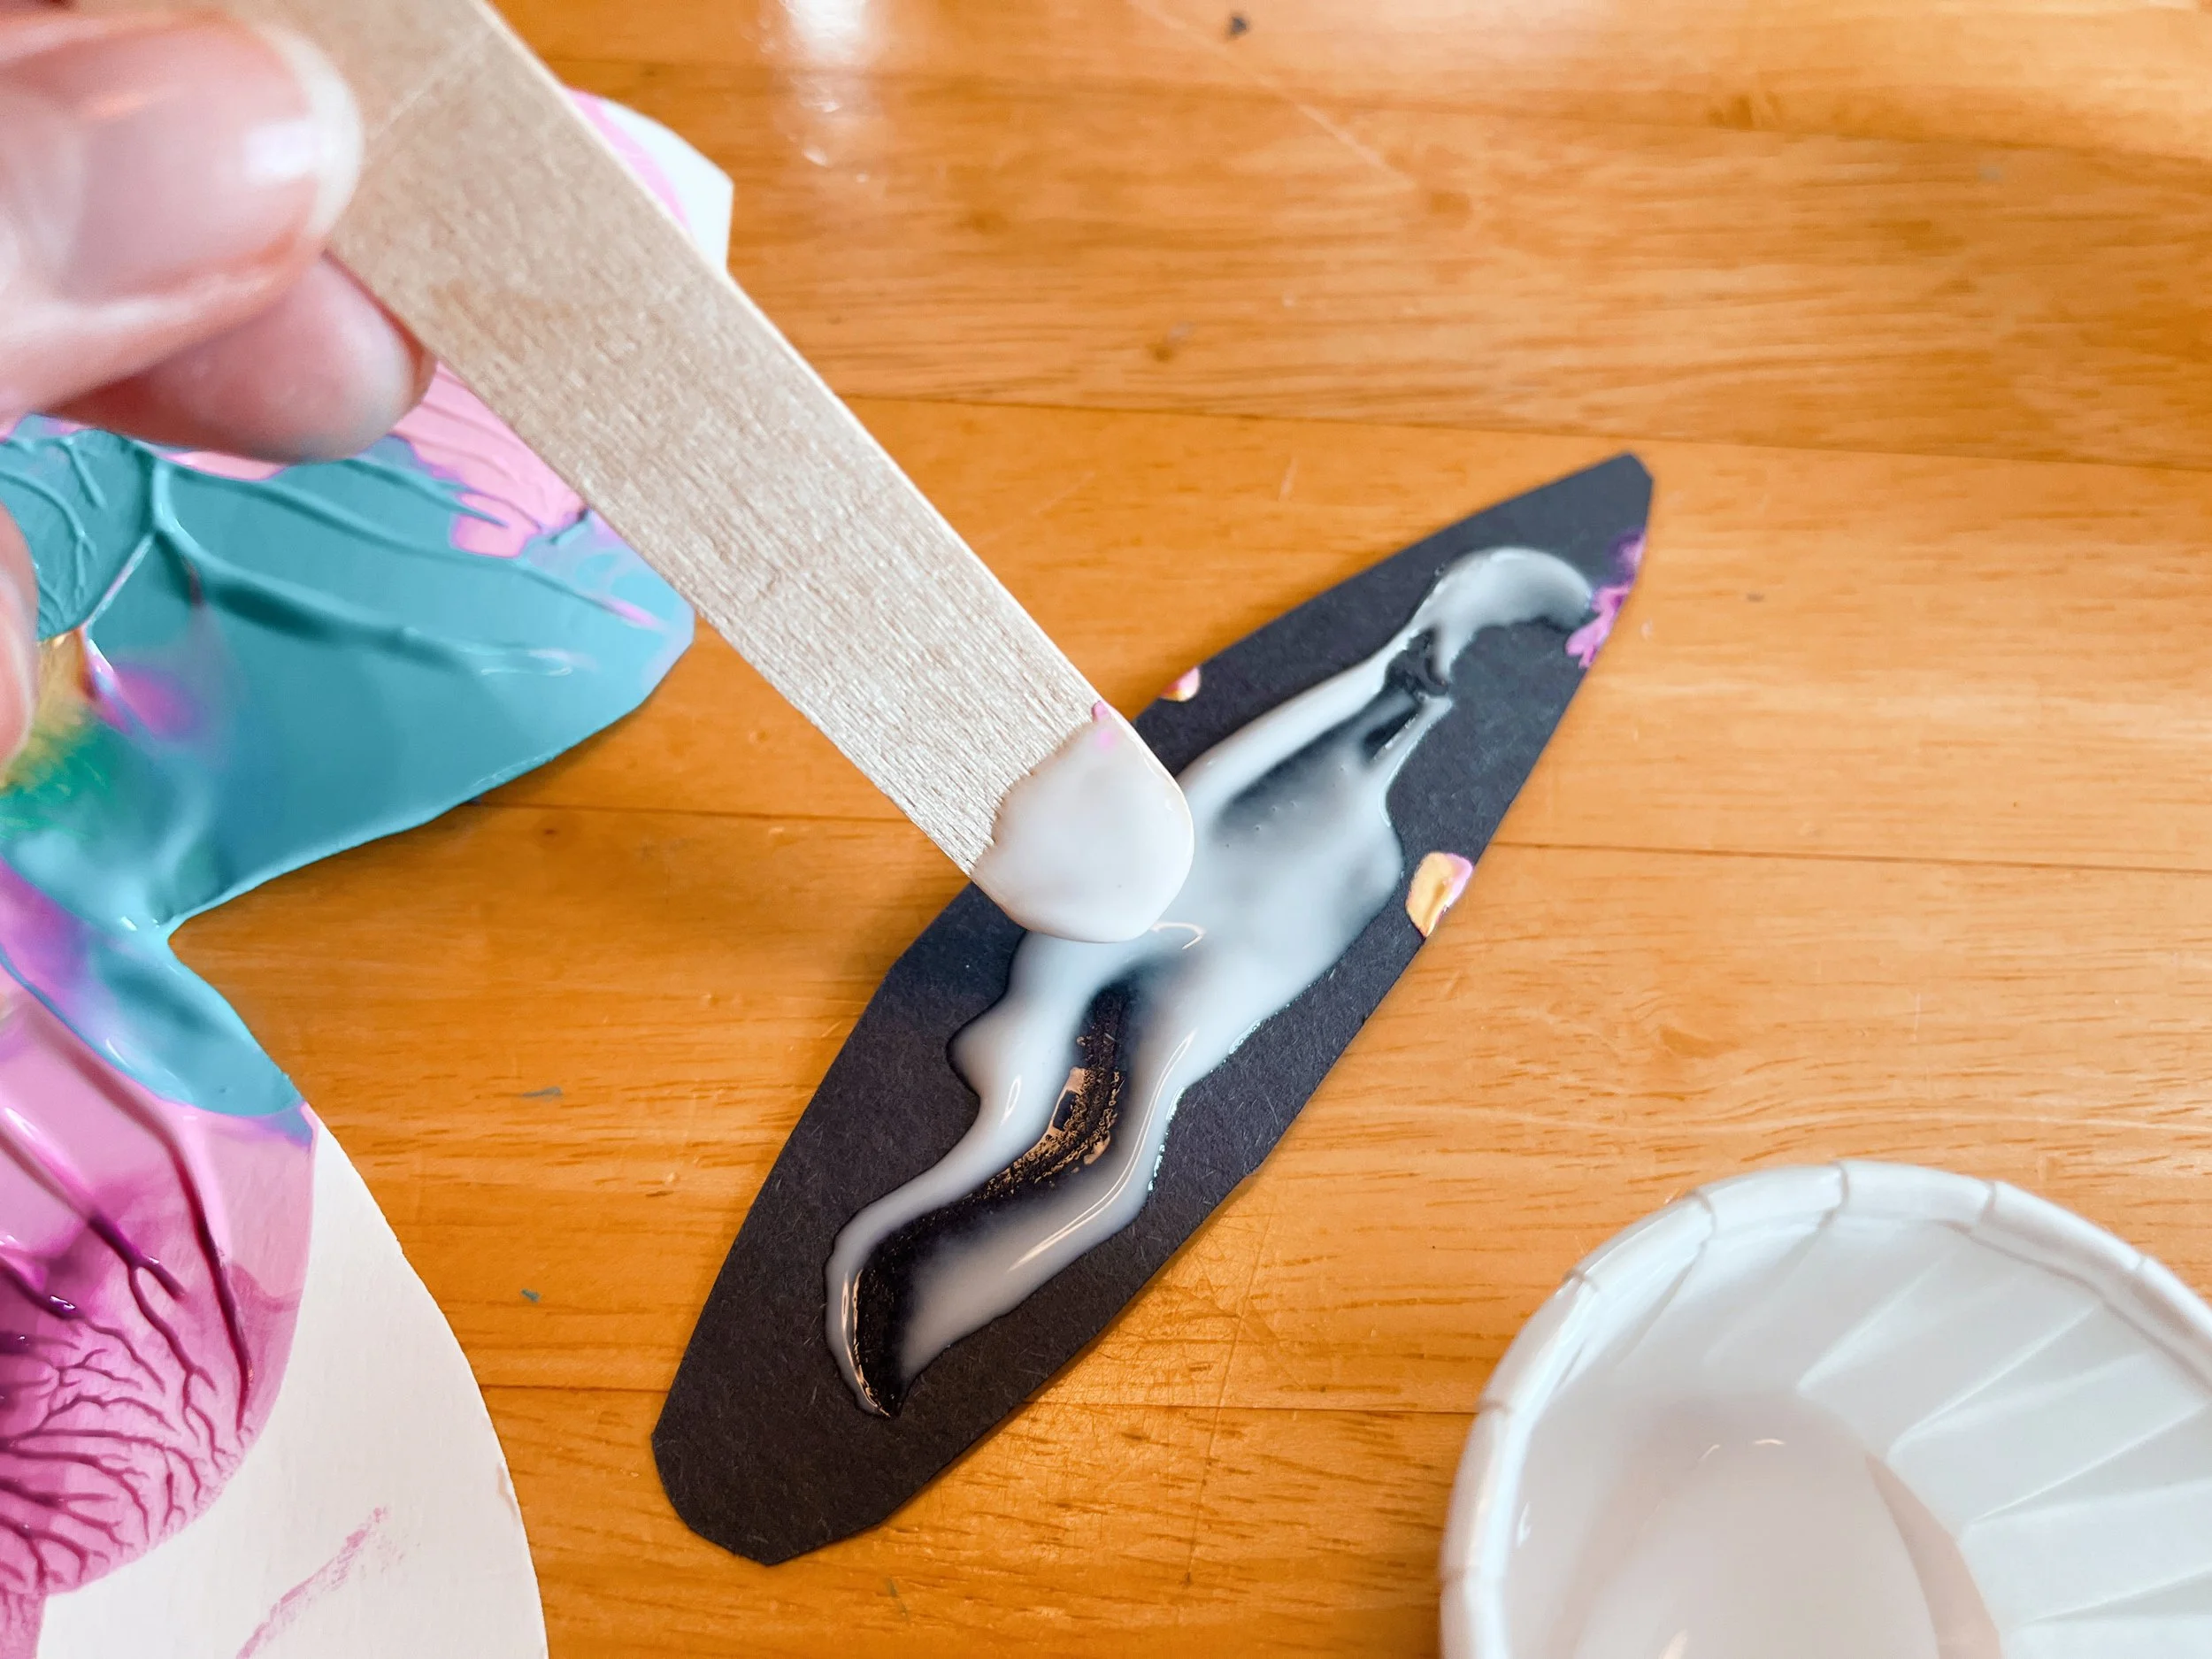
Use some glue to attach the butterfly’s body and head!
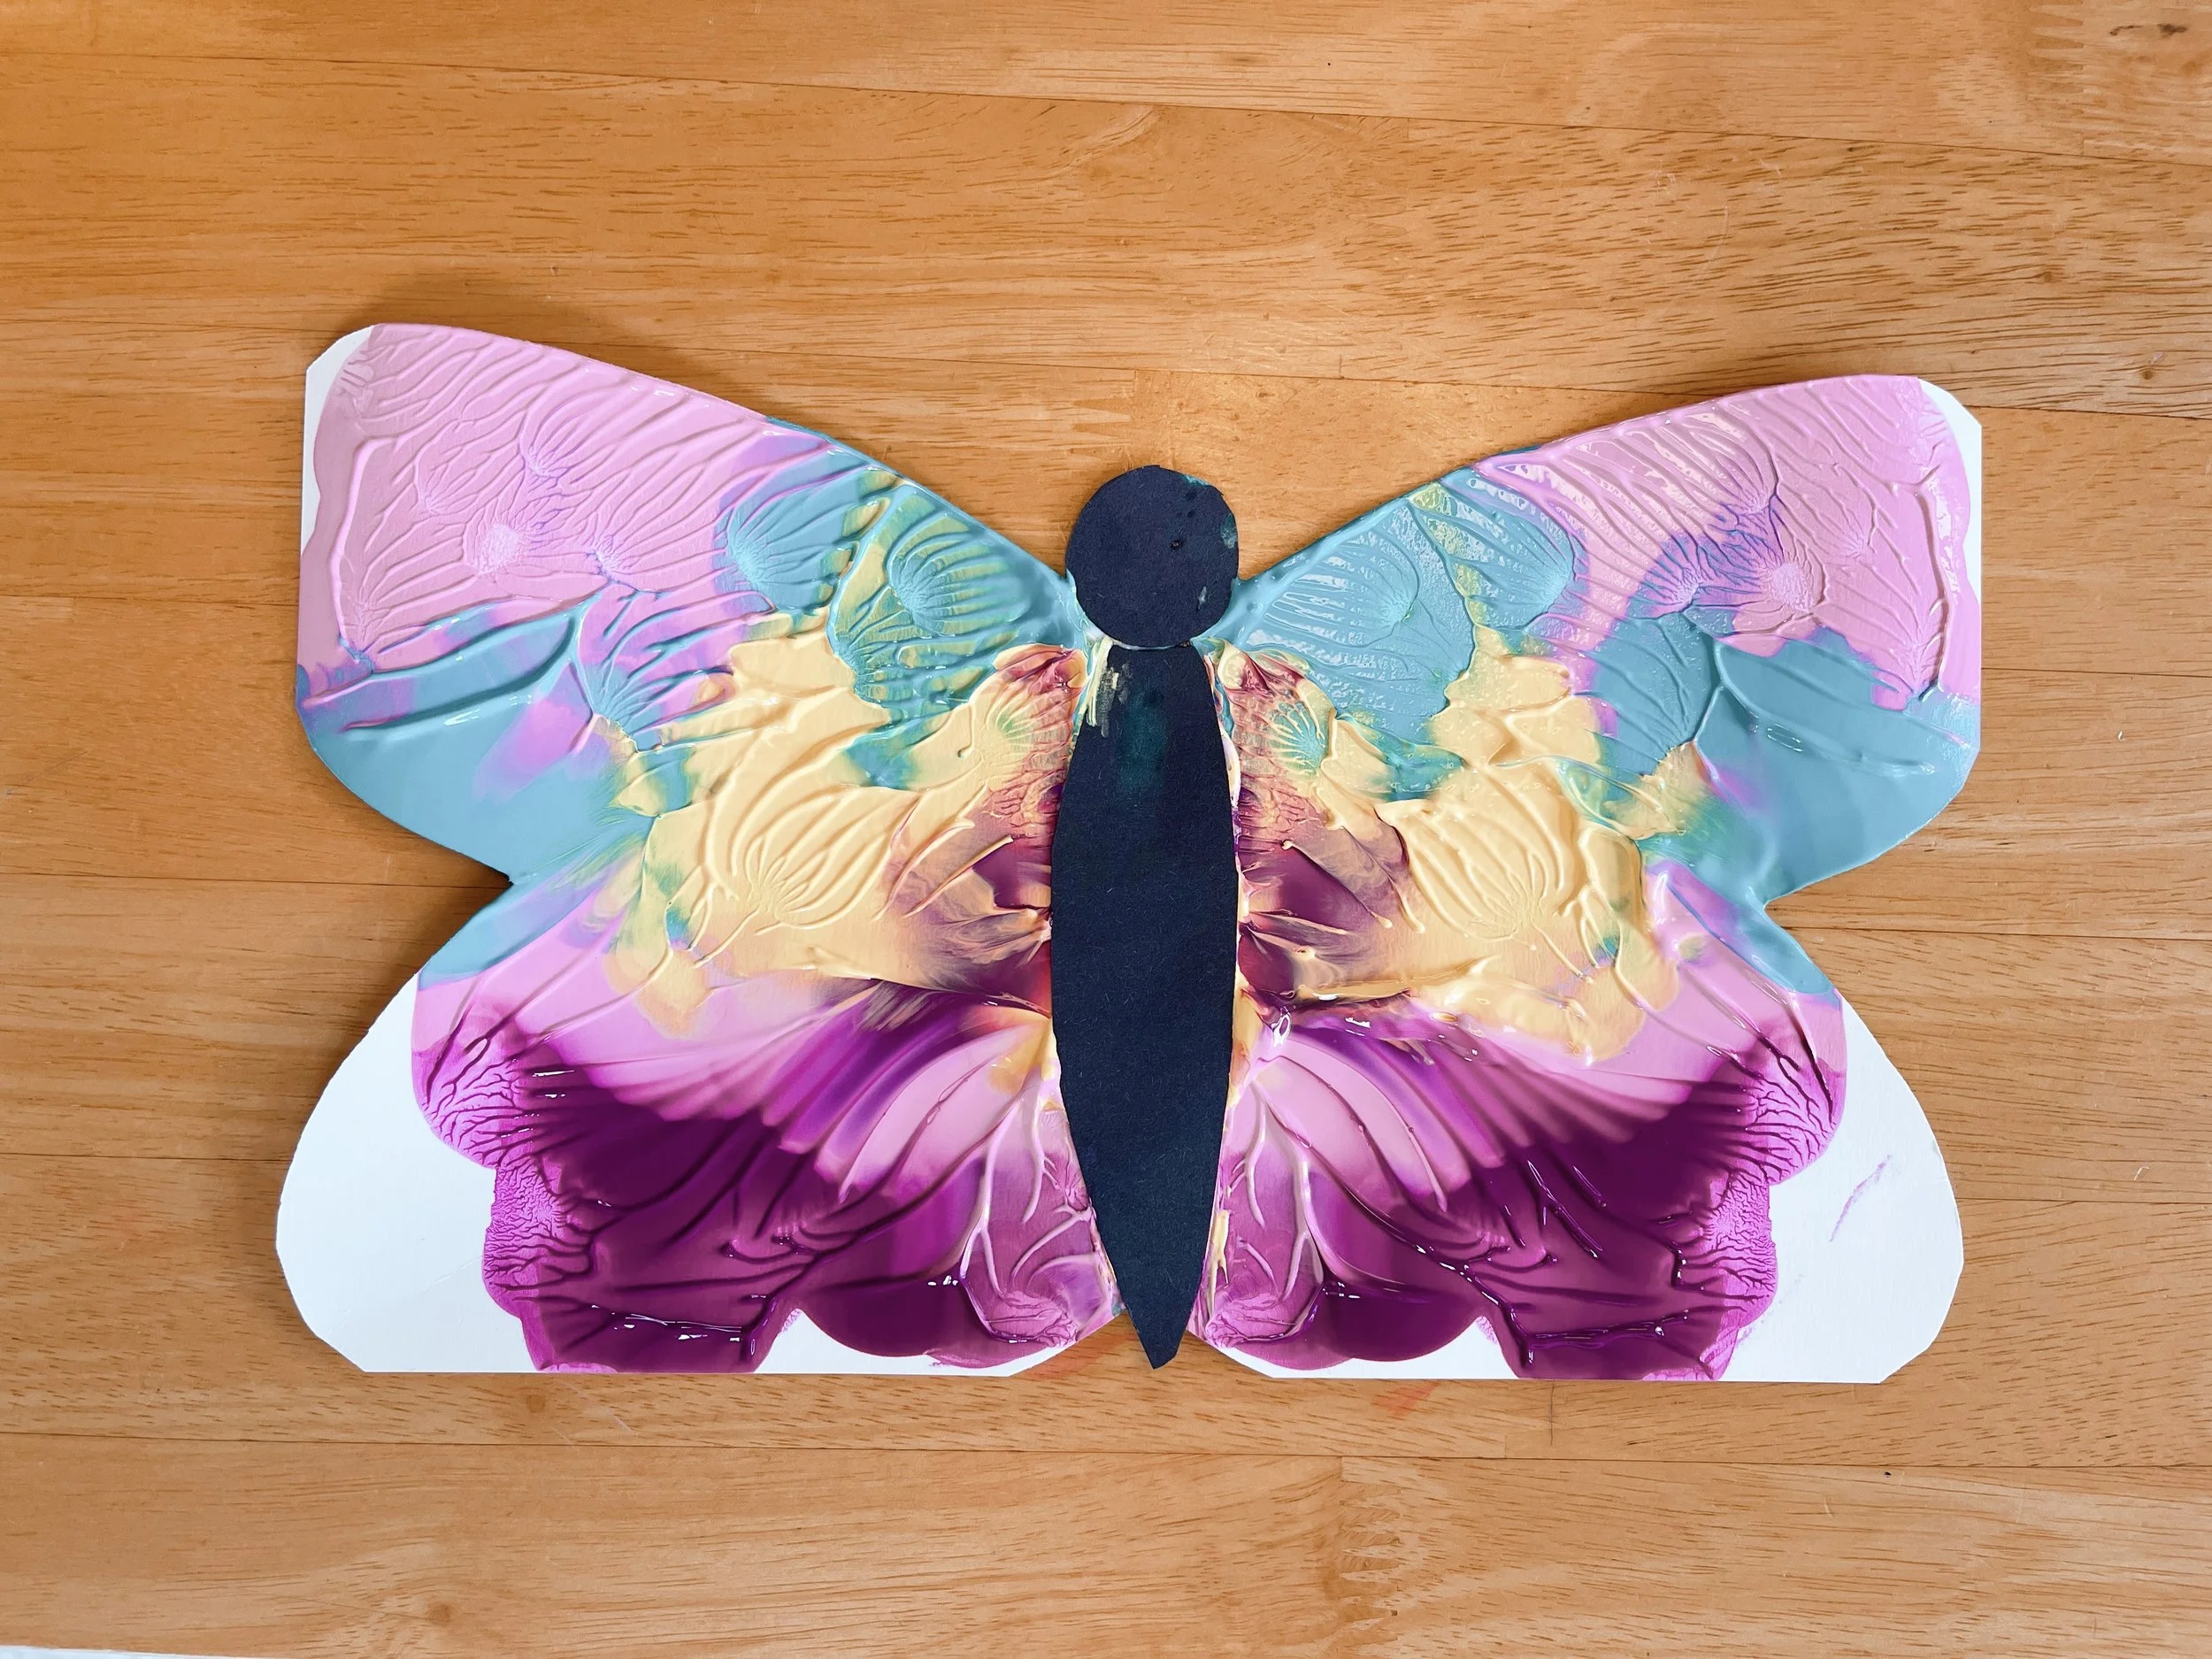
This project is simple and fun, and full of color! The perfect activity to welcome Spring.